A Sourdough Bread Rookie's Journey: Rehydrate Sourdough Starter


Sourdough. That simple word makes me drool because I simply adore sourdough. For the longest time I wanted to try making it, but honestly— I have always been intimidated by what seems like a daunting process. But once I decided to jump in, I realized that while there is a short time investment up front, it is not daunting. It just takes time.

This made me realize that I am probably not the only person out there intimidated by sourdough preparation. So, I decided to share my learning journey and share what has worked for me, as I learn to perfect my sourdough making skills. This is going to a multi-part post for ease of understanding for those of you who, like me, are rookies in this area.

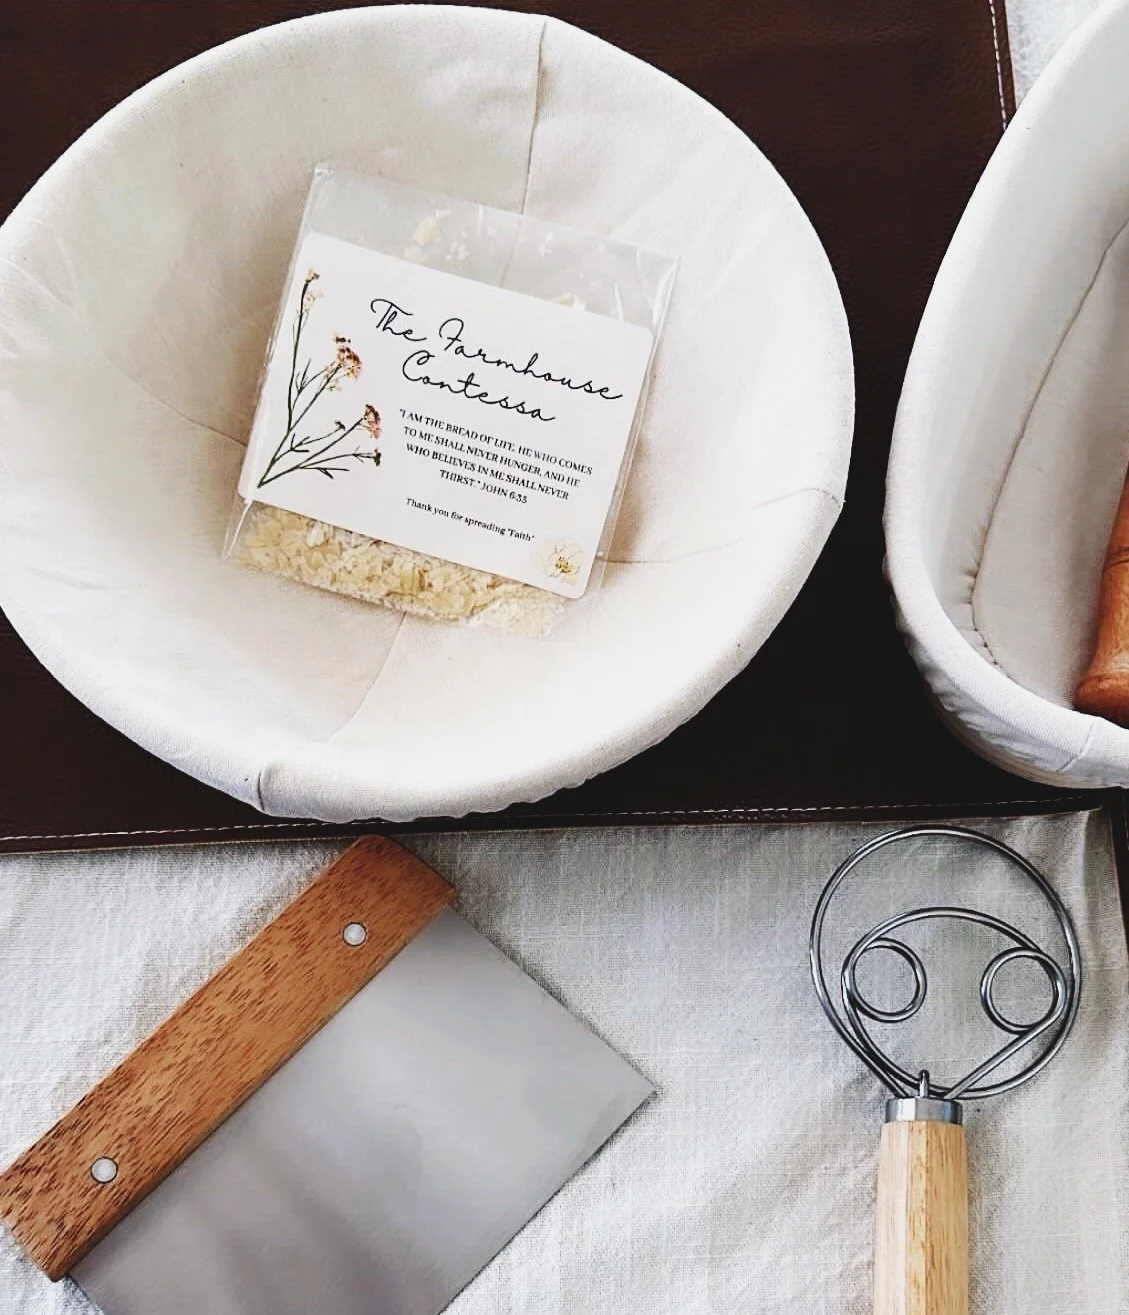
NOTE: This process is specifically for feeding dehydrated starter. You can get dehydrated starter from a variety of places. Two that I have seen are Ballerina Farm and The Farmhouse Contessa. From the photo below, you can tell that I am using TFC’s starter.


When you order the dehydrated starter, it will come in a bag. The dried starter reminds me of thin flatbread. A beautiful thing about it is that the dehydrated starter will last infinitely, as long as it is stored in an airtight container. Make sure you place the container in a cool, dry place.
LET’S GO
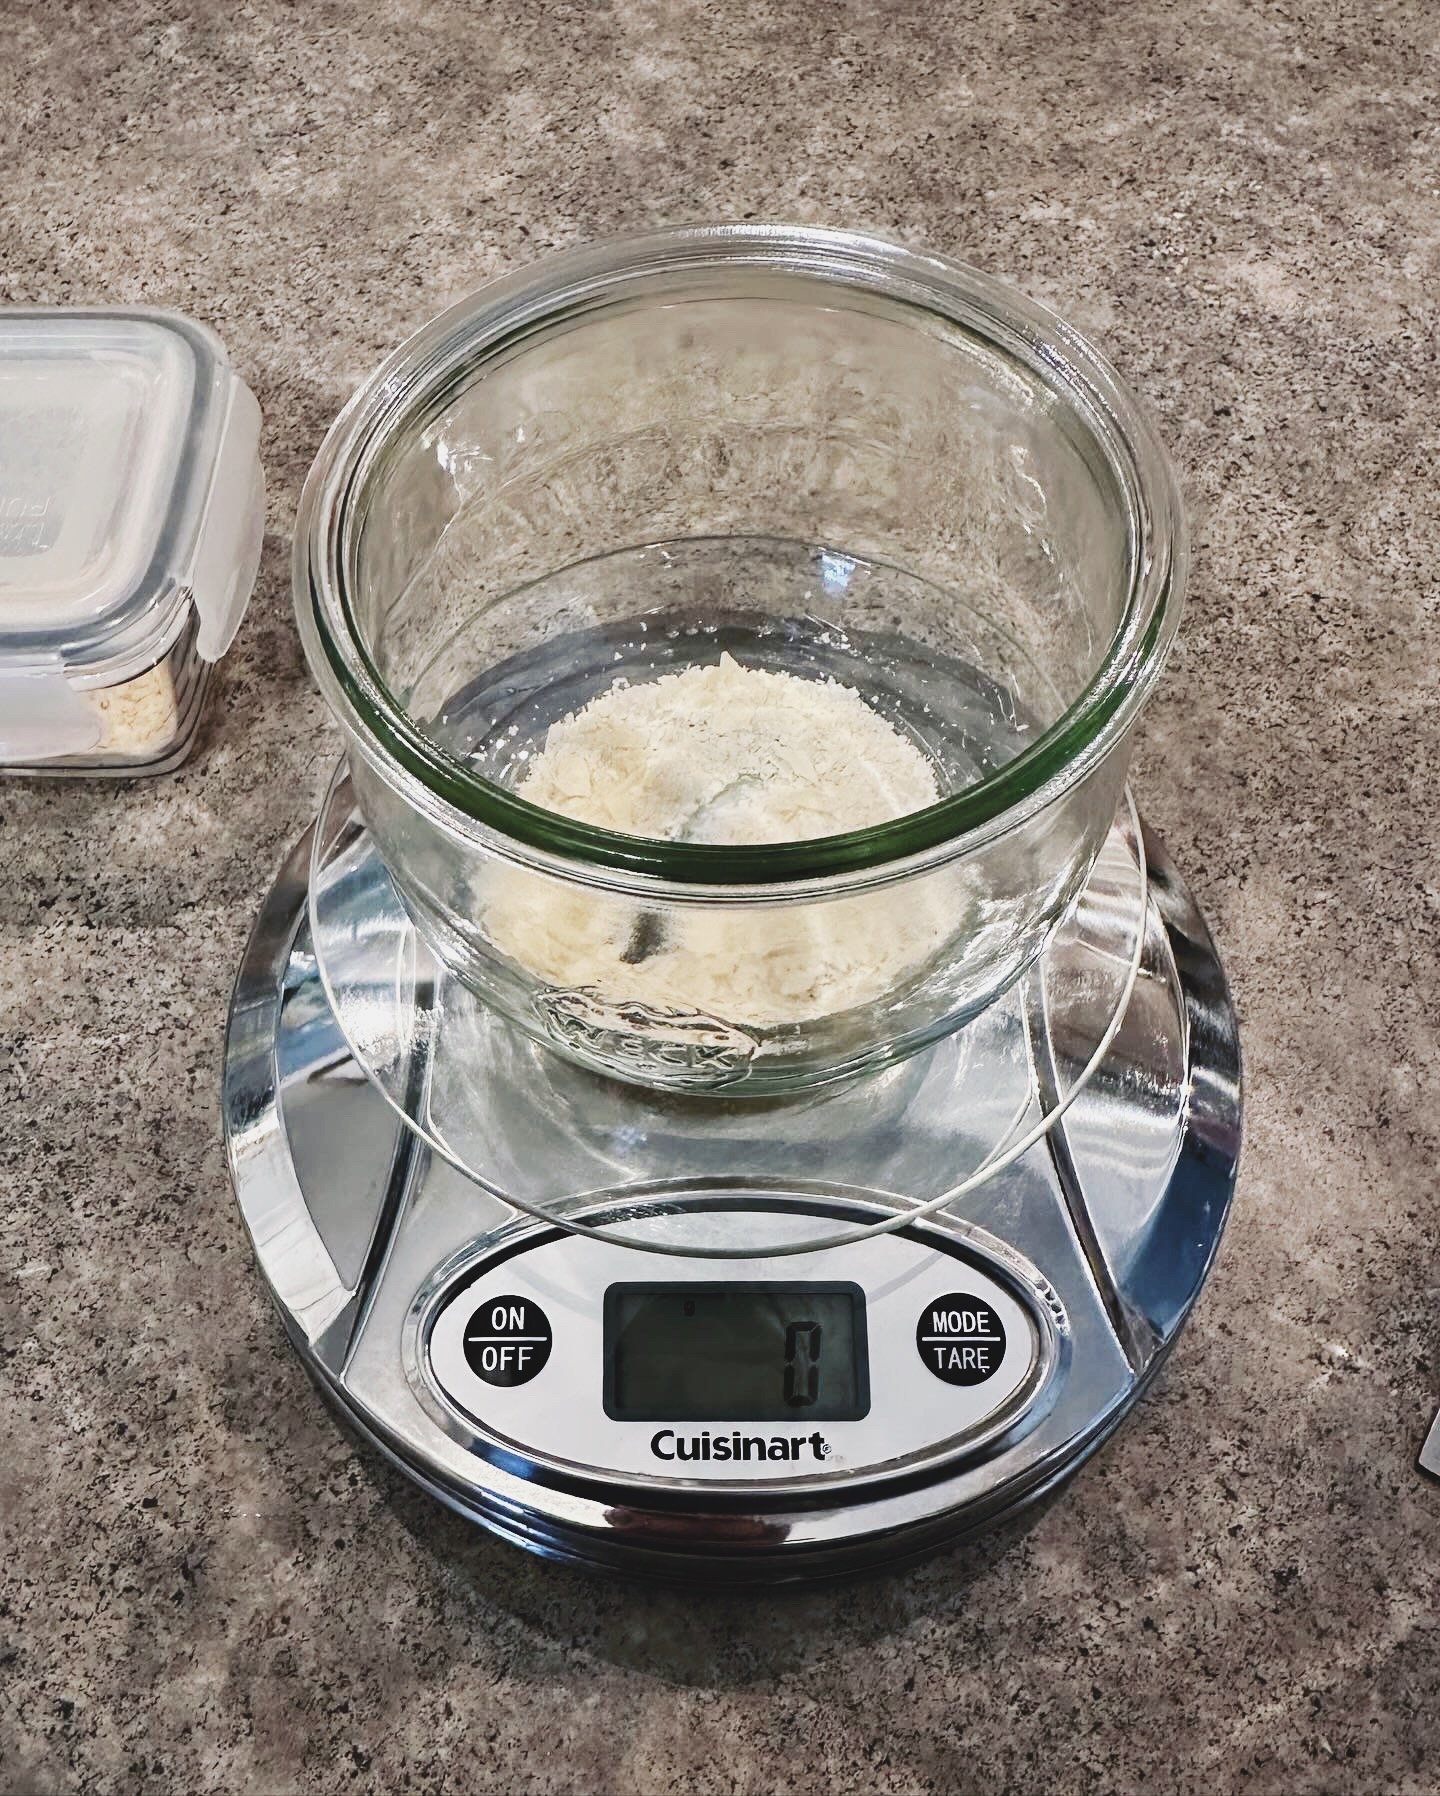
STEP 1
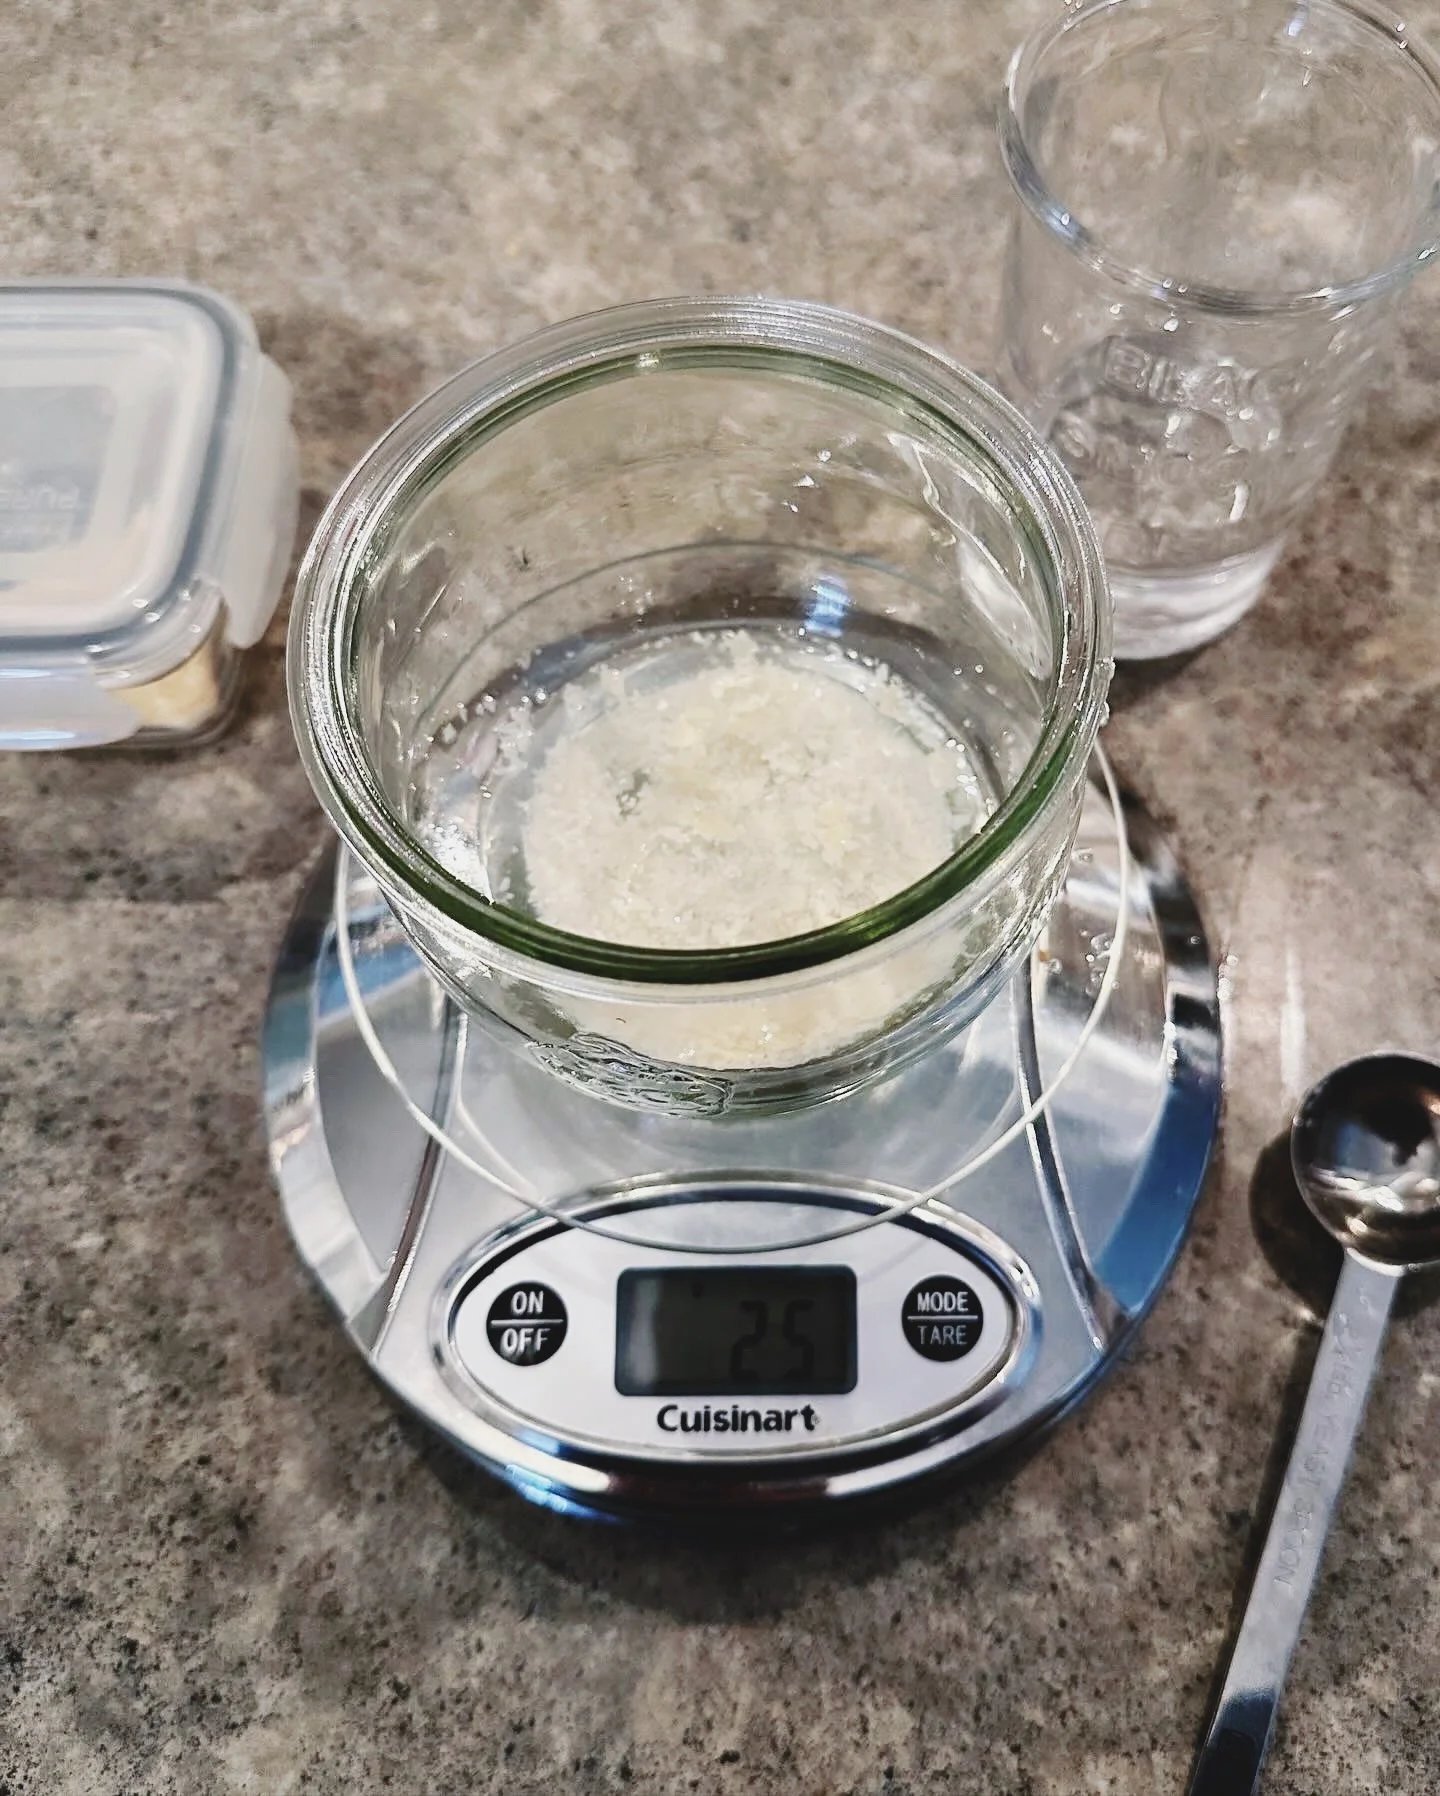
STEP 2
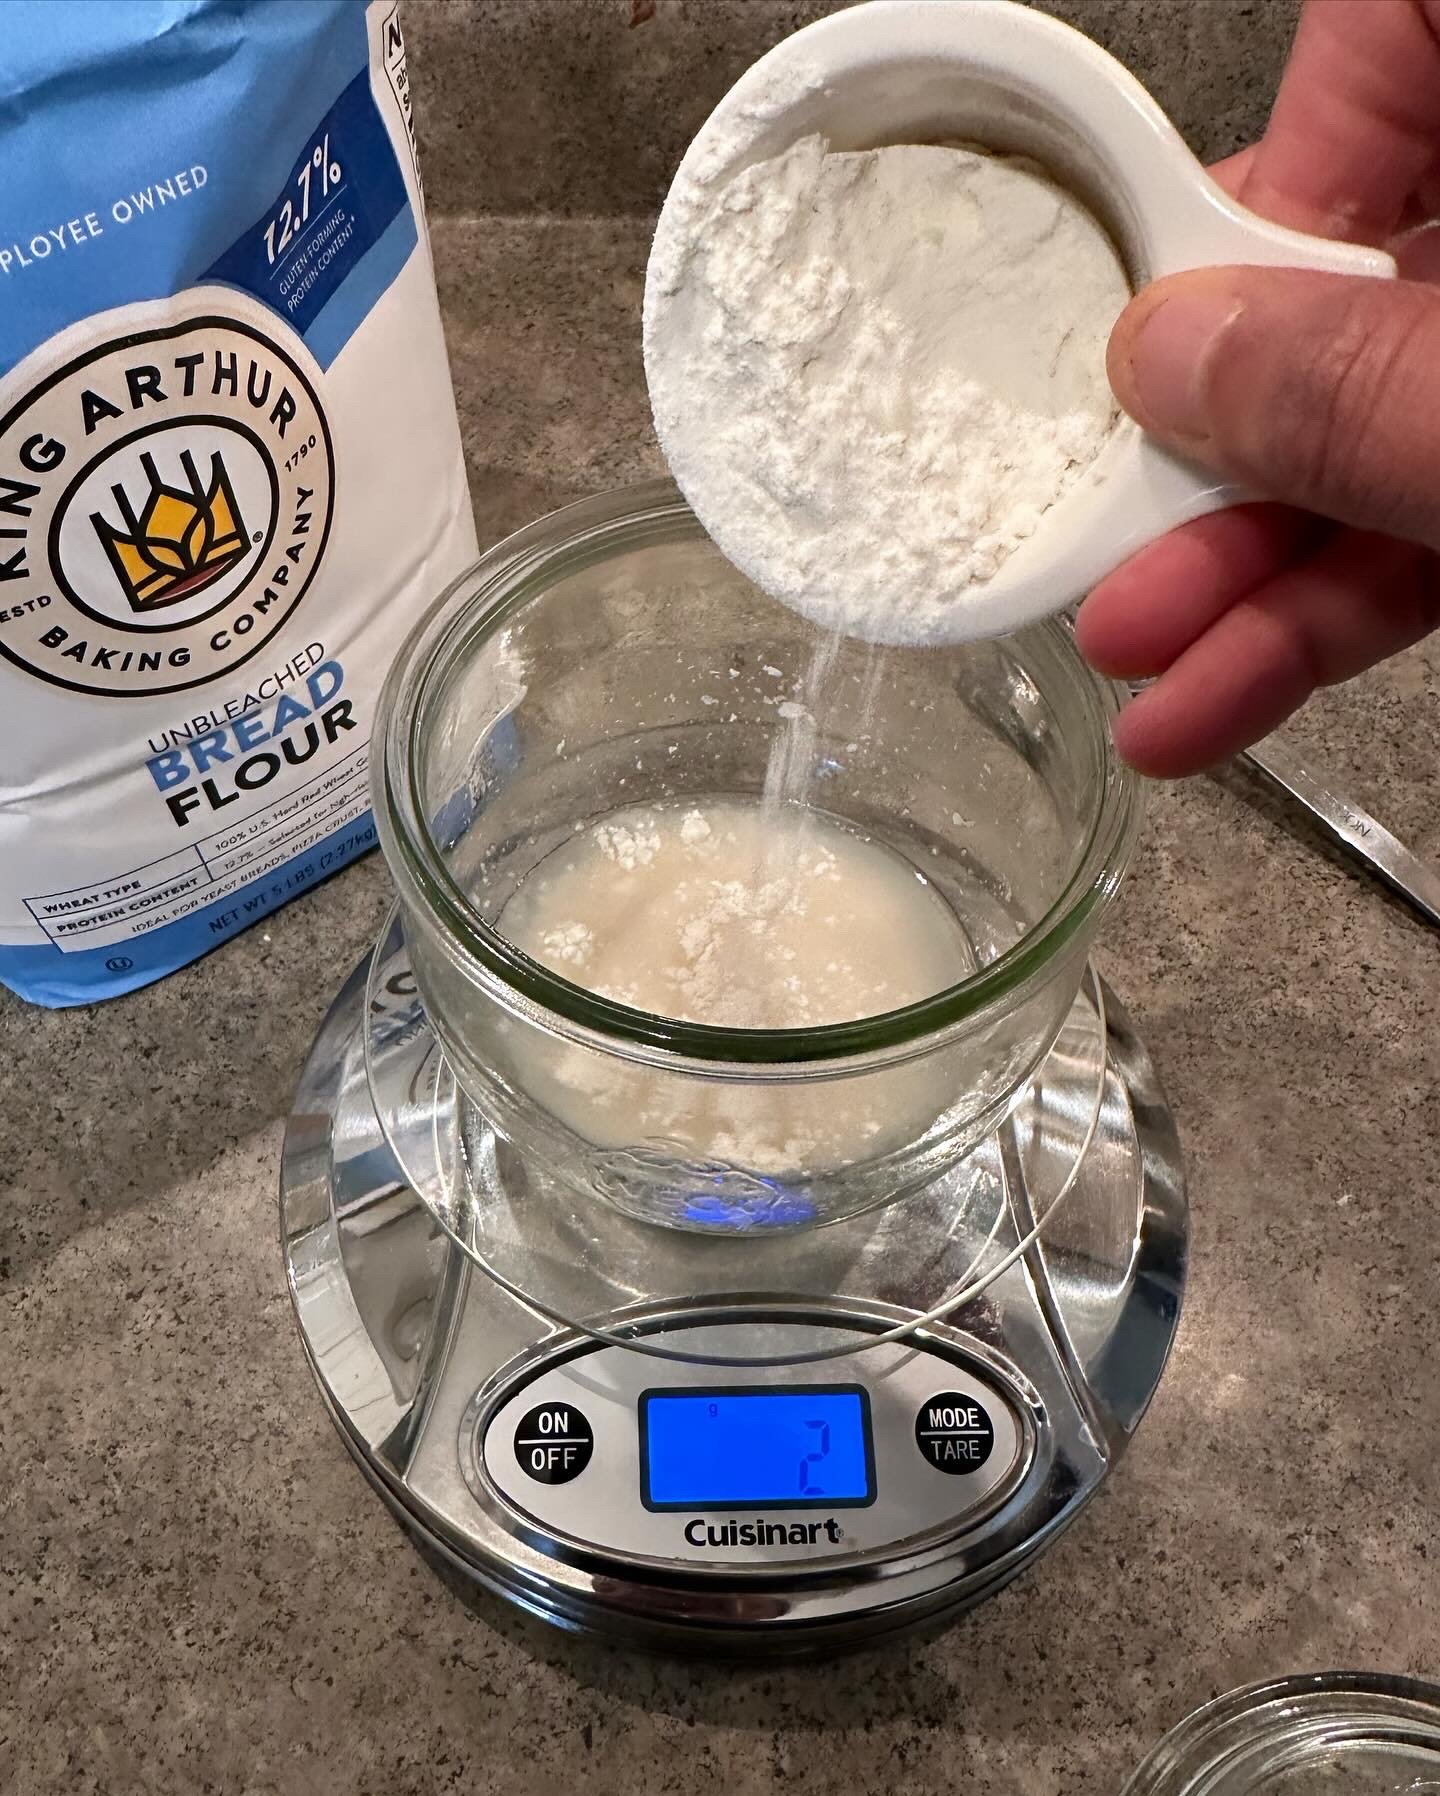
STEP 3
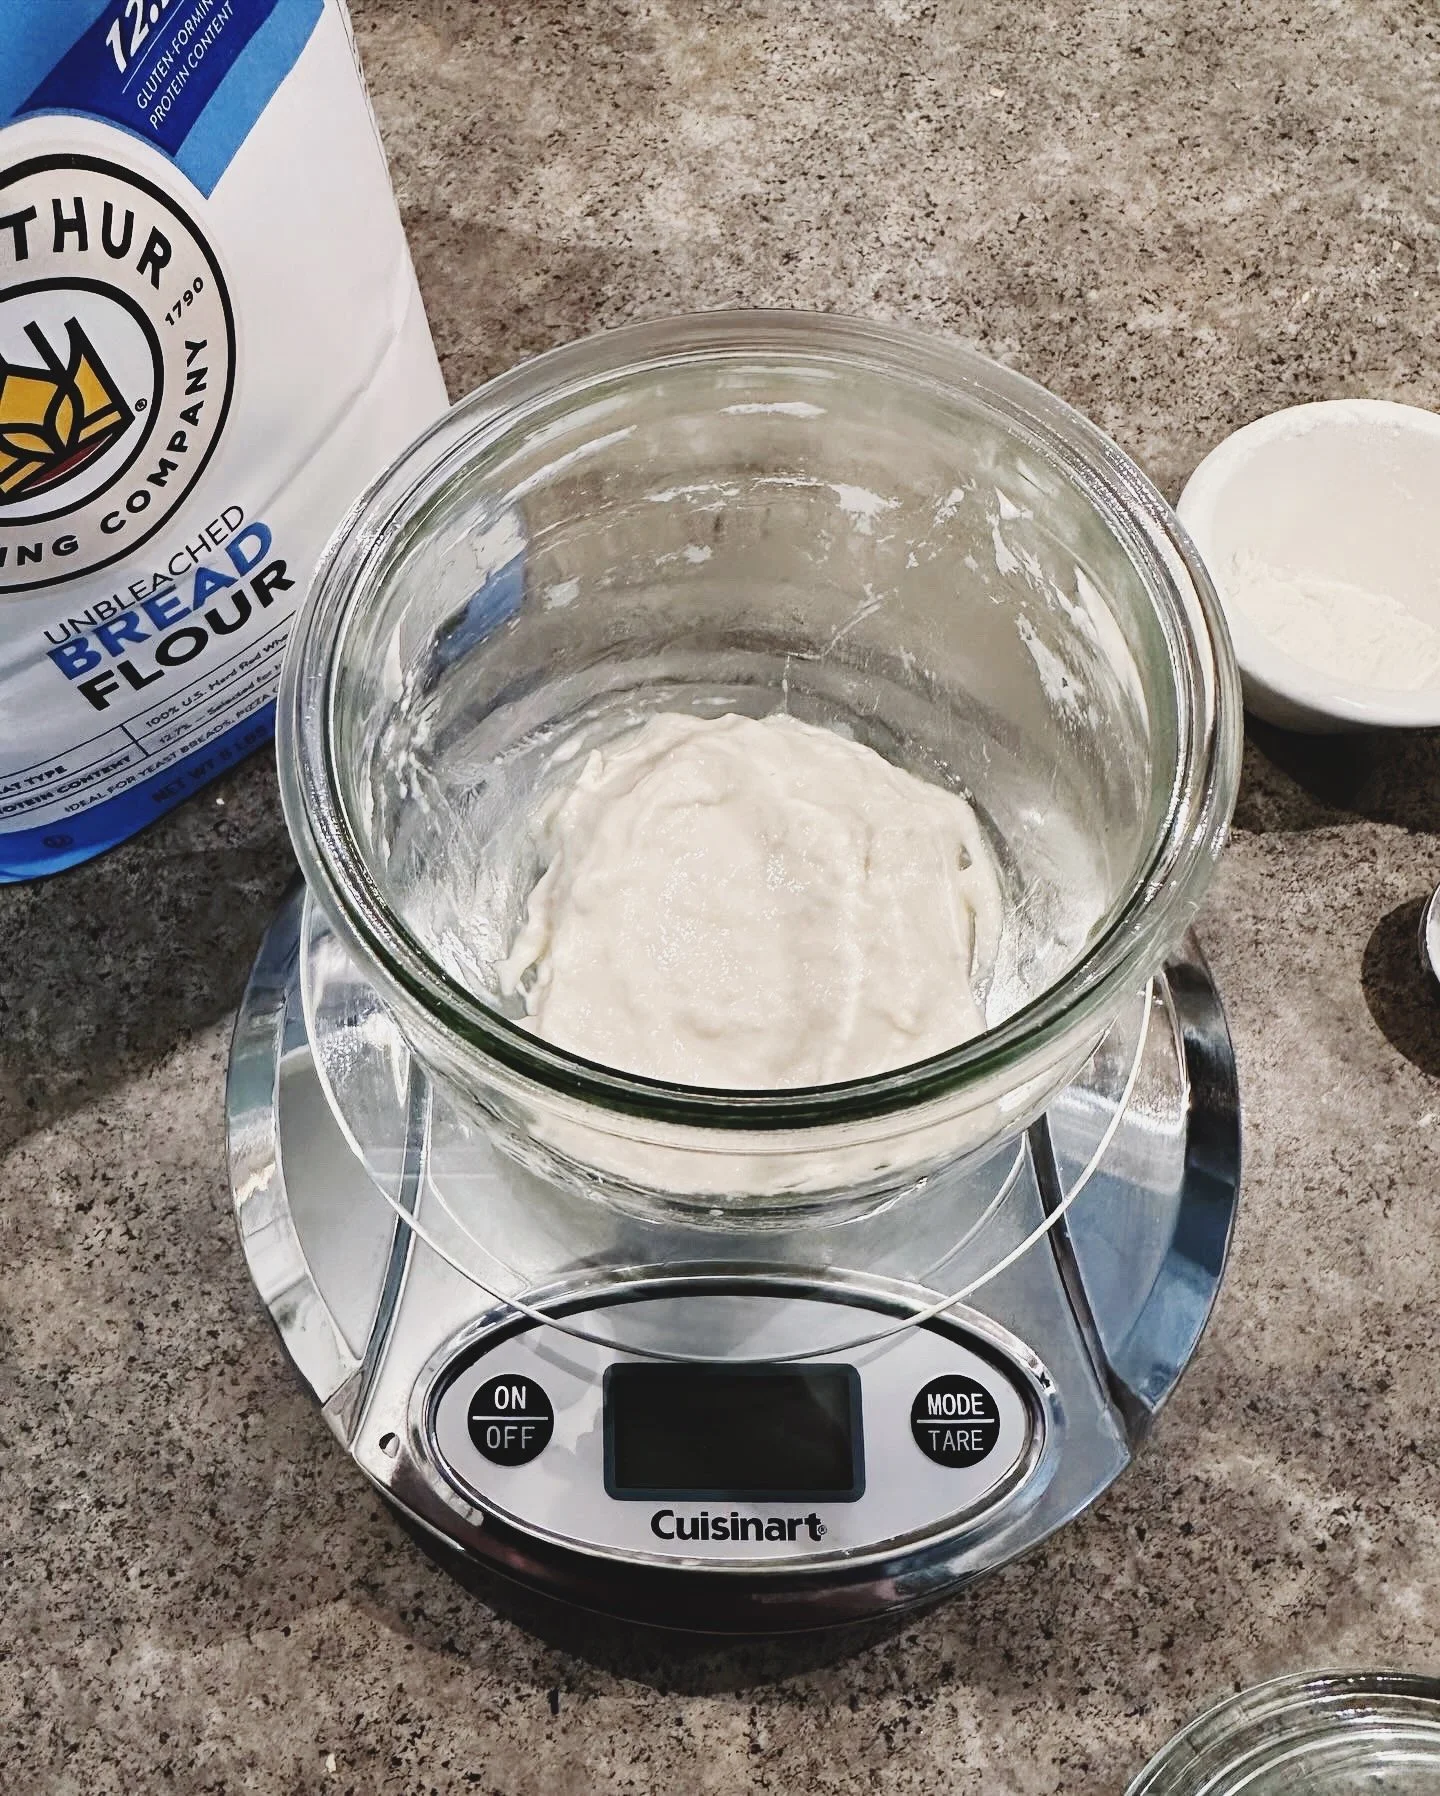
STEP 4
STEP 4B

First, let’s talk about the equipment that you will need for this part. You will need:

  • Clean glass jars with lids. I love using Weck jars.

  • A measuring food scale

  • A cup with a spout to pour water into the glass jar

  • And a spoon for mixing I like to use the wooden spoon.

Once you have assembled all these items, it’s time to begin. Let’s go. On Day 1 you will:

Step 1. Turn food scale on and set to ‘grams.” Place clean glass jar on the food scale and tare to set the scale to 0.

Step 2. Spoon 10 grams of the dehydrated started into the jar, and hit the tare button on the tare button to set back to 0.

Step 3. Pour 20 grams of lukewarm water to the jar, and hit the tare button to set to 0.

Step 4. Add 20 grams of bread flour to the jar. Mix all the ingredients well, cover with a lid and set aside.

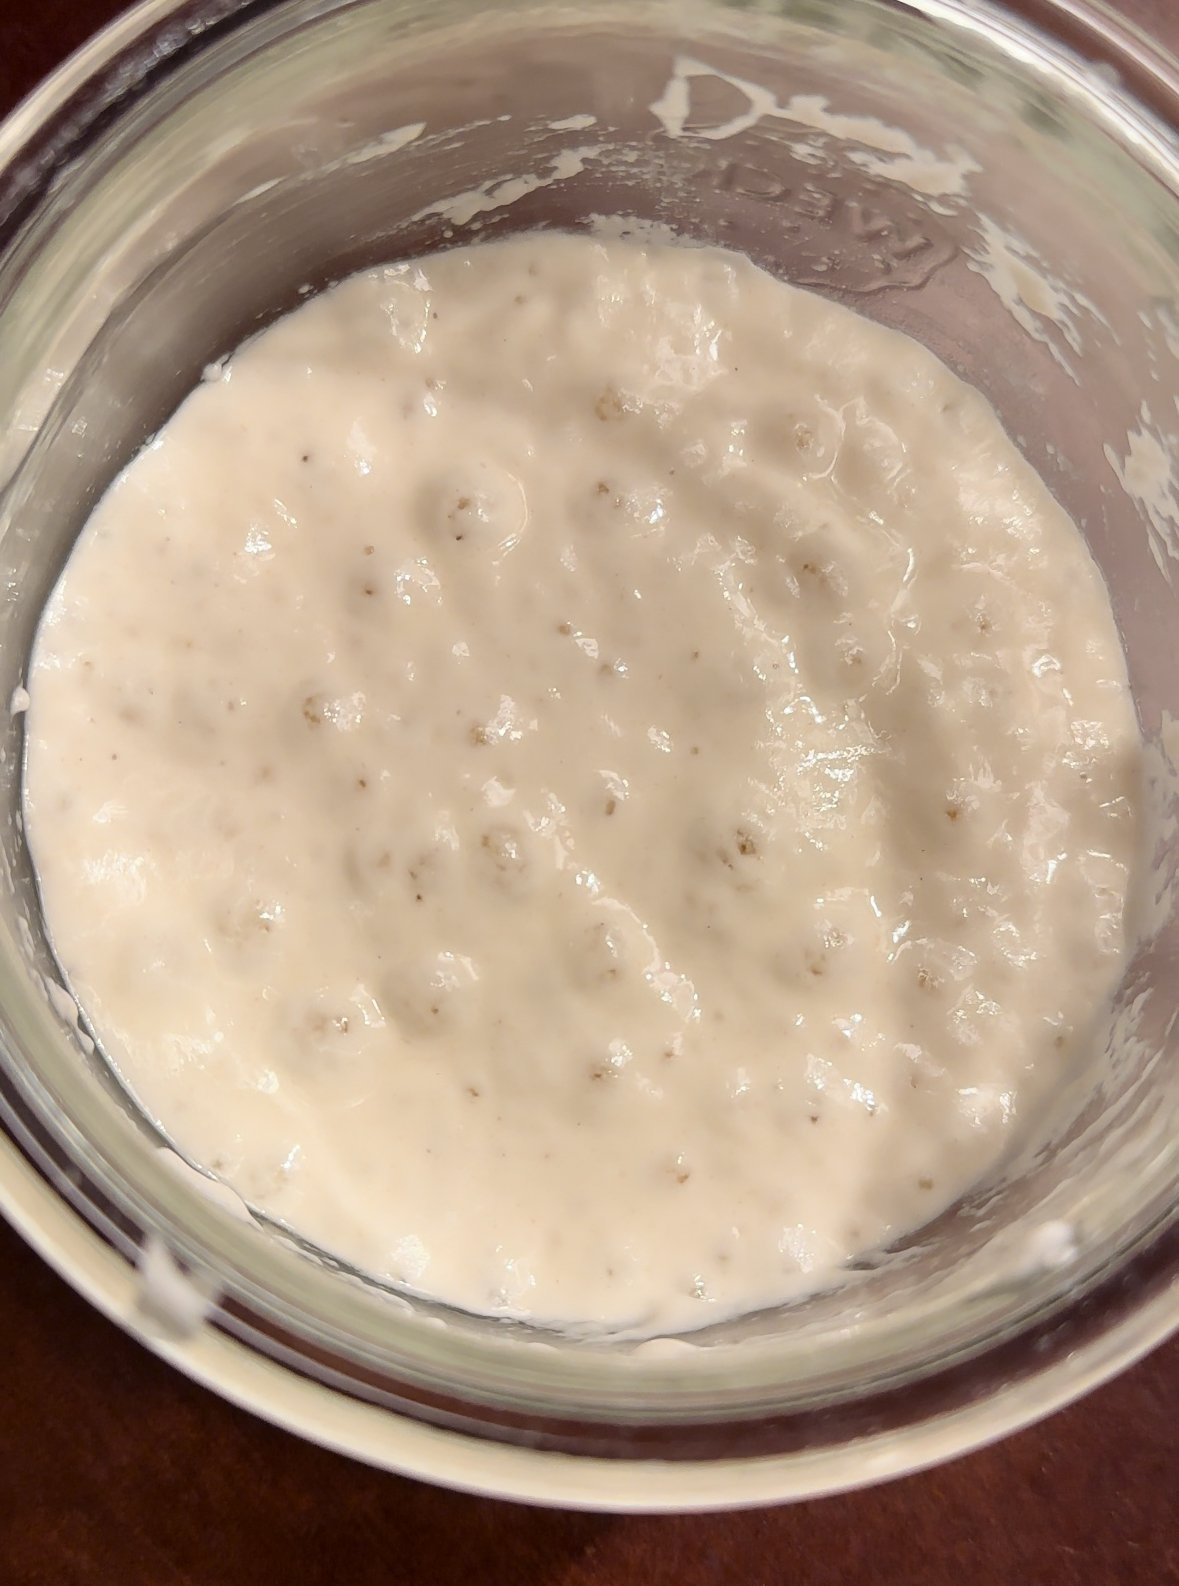
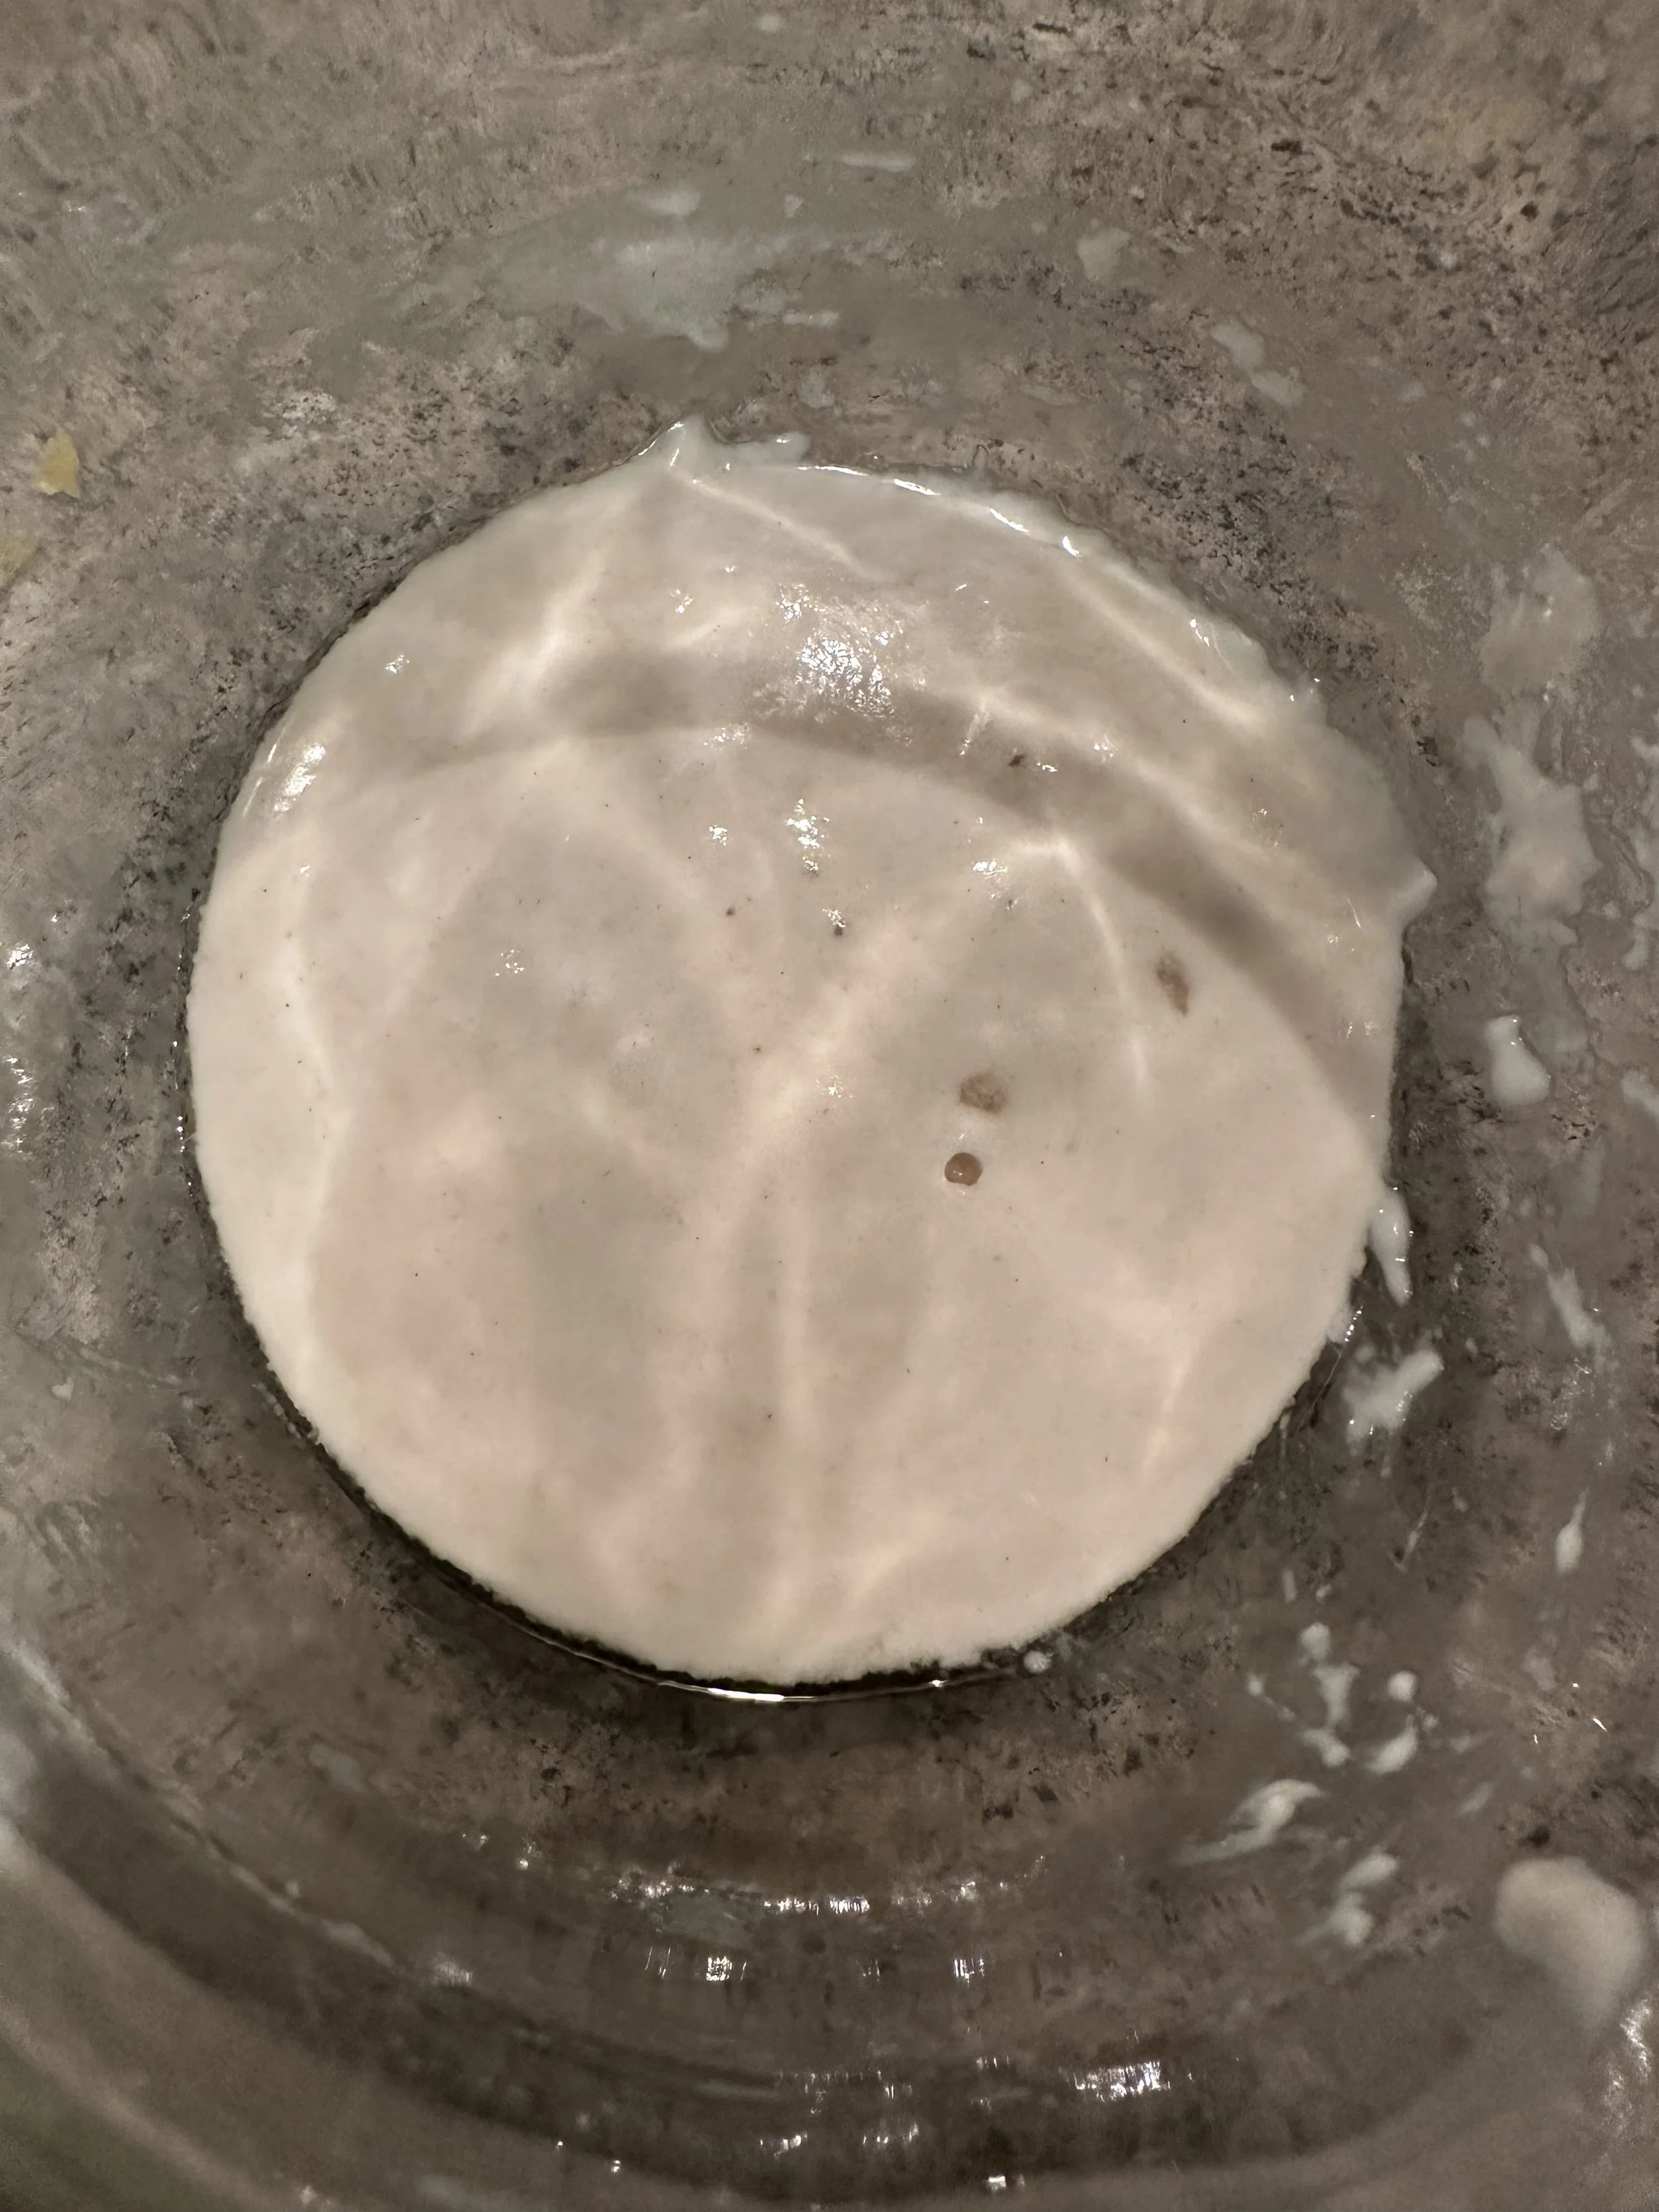
** This process is repeated for the next three days (Days 2-4). What we are looking for is a starter that has doubled in size and has bubbles on the surface. You can see below the starter progressing from Day 2 through Day 4.
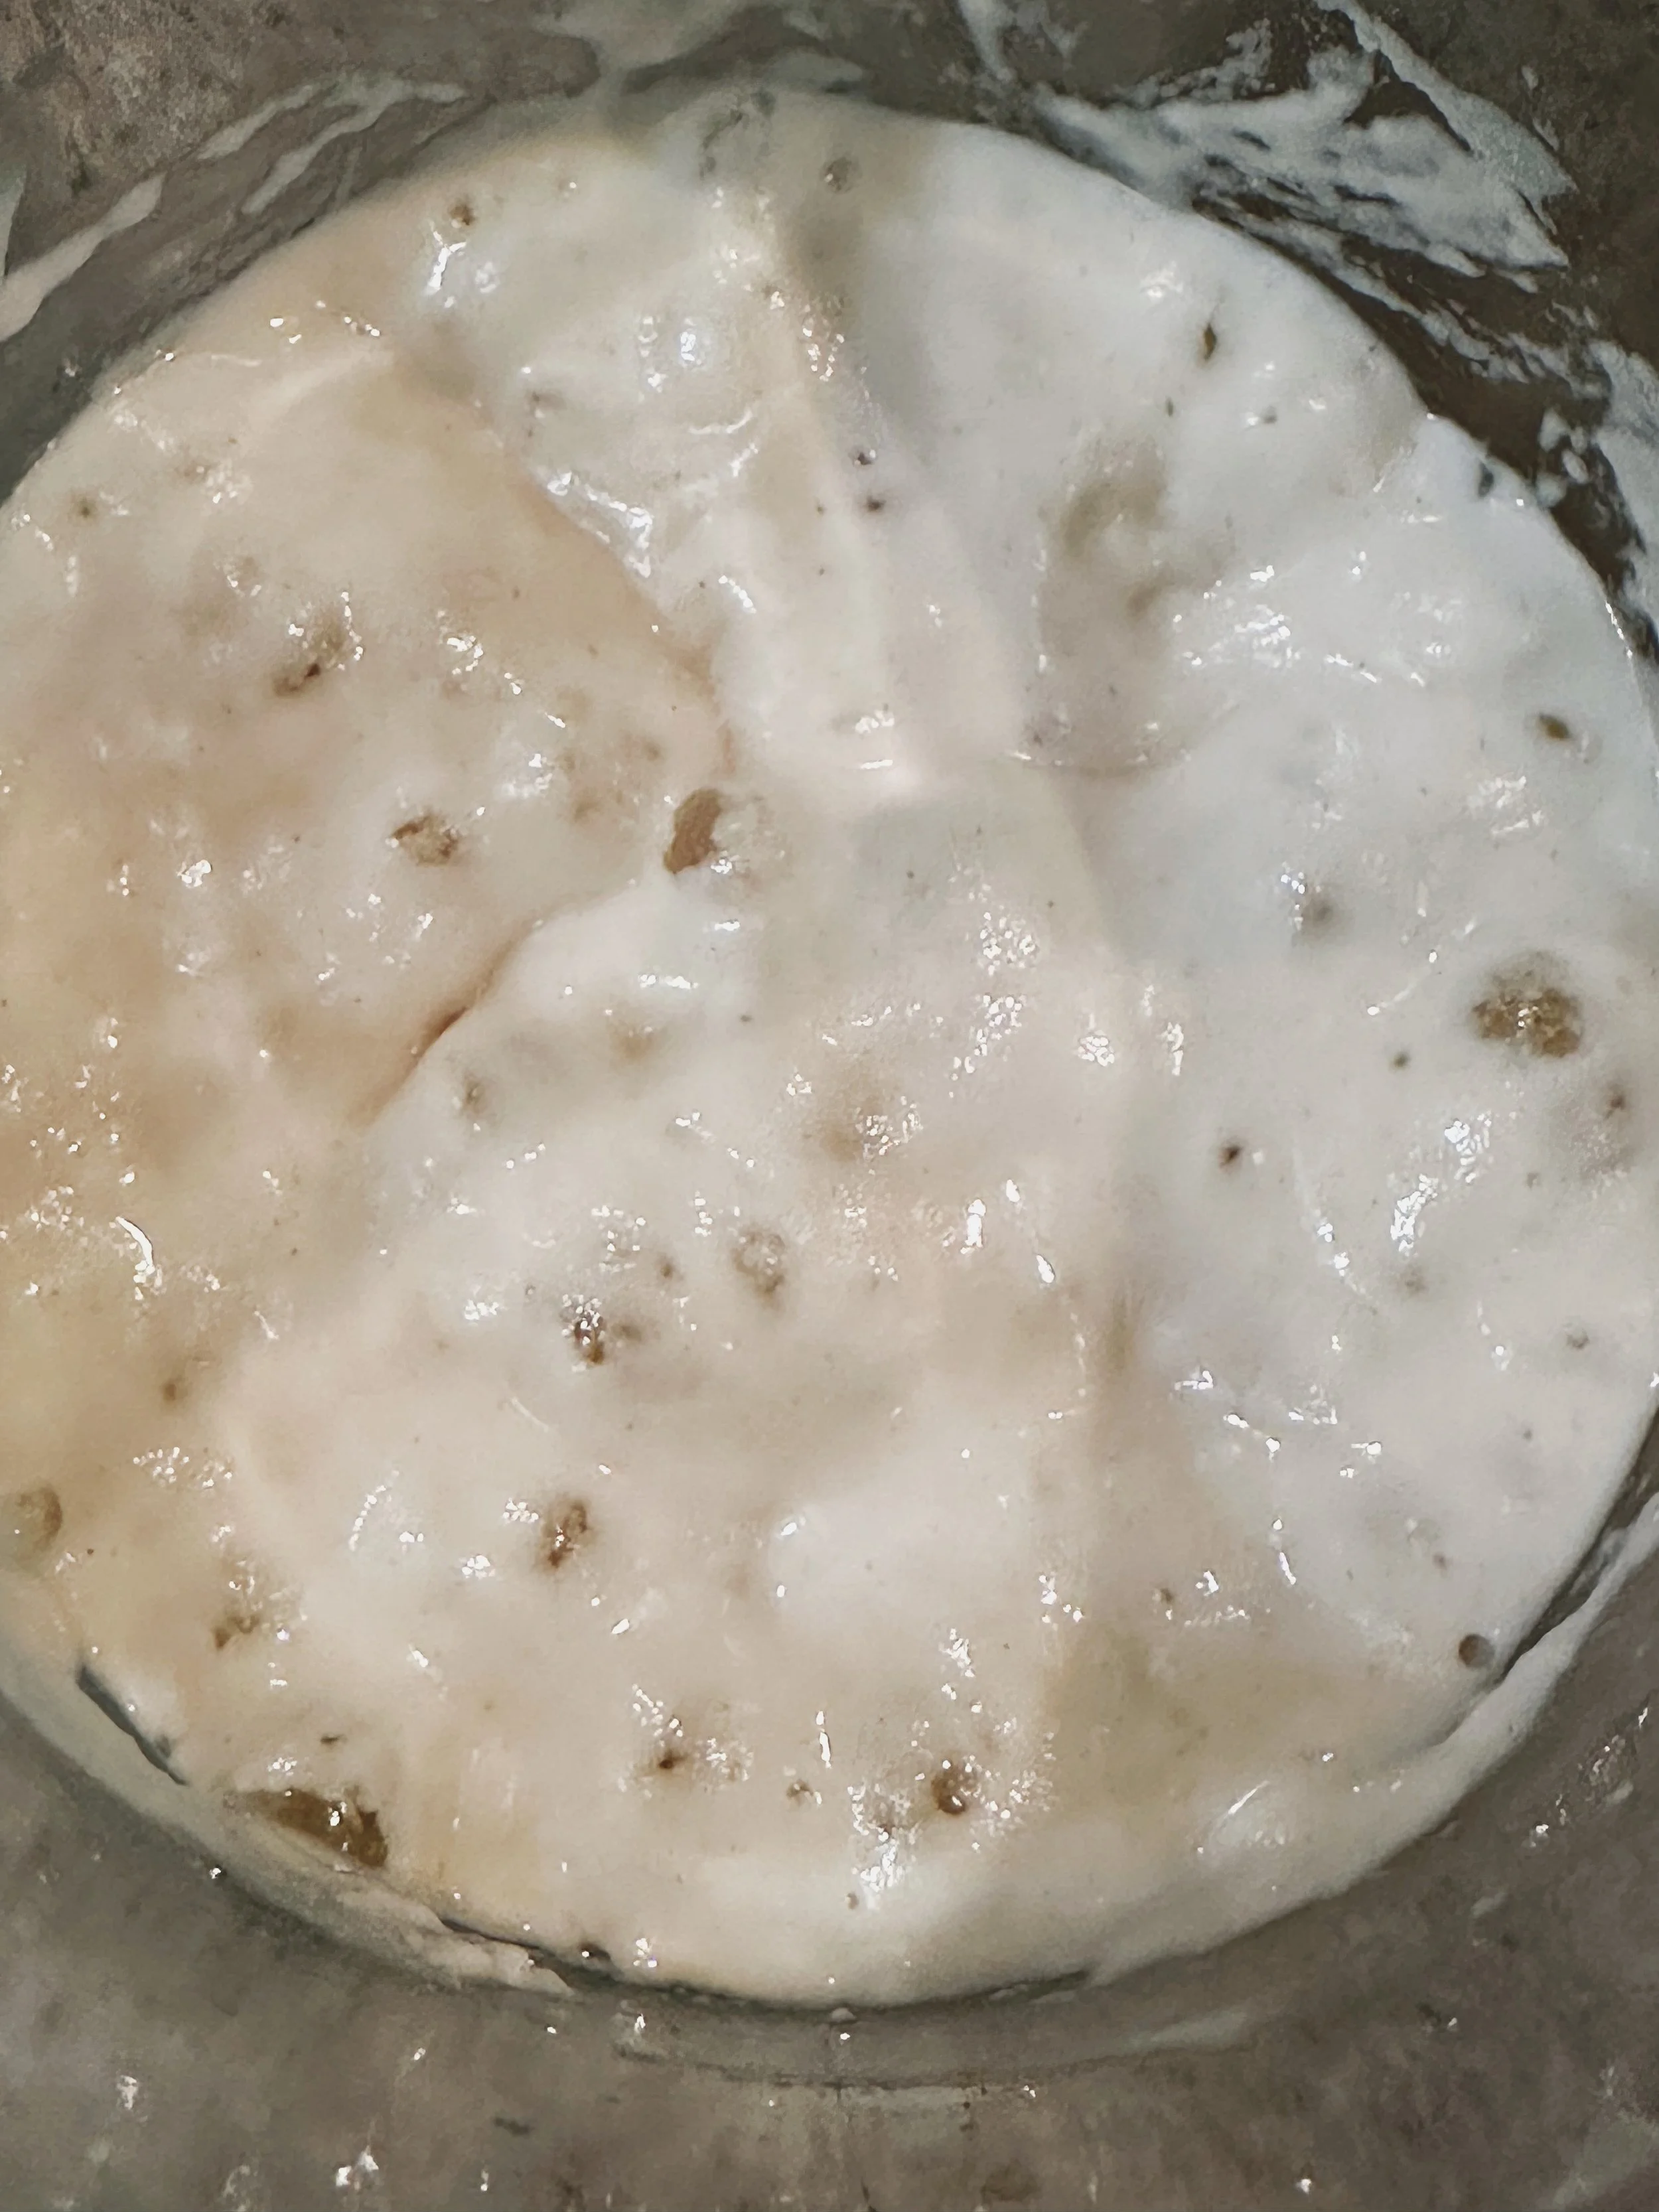
On Day 5 the starter again should have doubled in size and have bubbles, and then it is time to feed like you would normally. For this particular starter, it looks like this—

Step 1. Take a spoonful of the starter and add it to a clean jar.

Step 2. Add a 1/3 cup bread flour.

Step 3. Pour scant 1/3 lukewarm water to the jar, and mix. Cover it and set it aside. This will be ready to use in 6-8 hours.


Some tips I found useful—

  1. Starter rose better in a warmer room, around 70F. If your room is colder, it will take longer.

  2. Lukewarm water makes a difference so don’t skip this step. This baby milk warm.

  3. Be prepared for failures, and celebrate those, because they will make you a better sourdough baker.

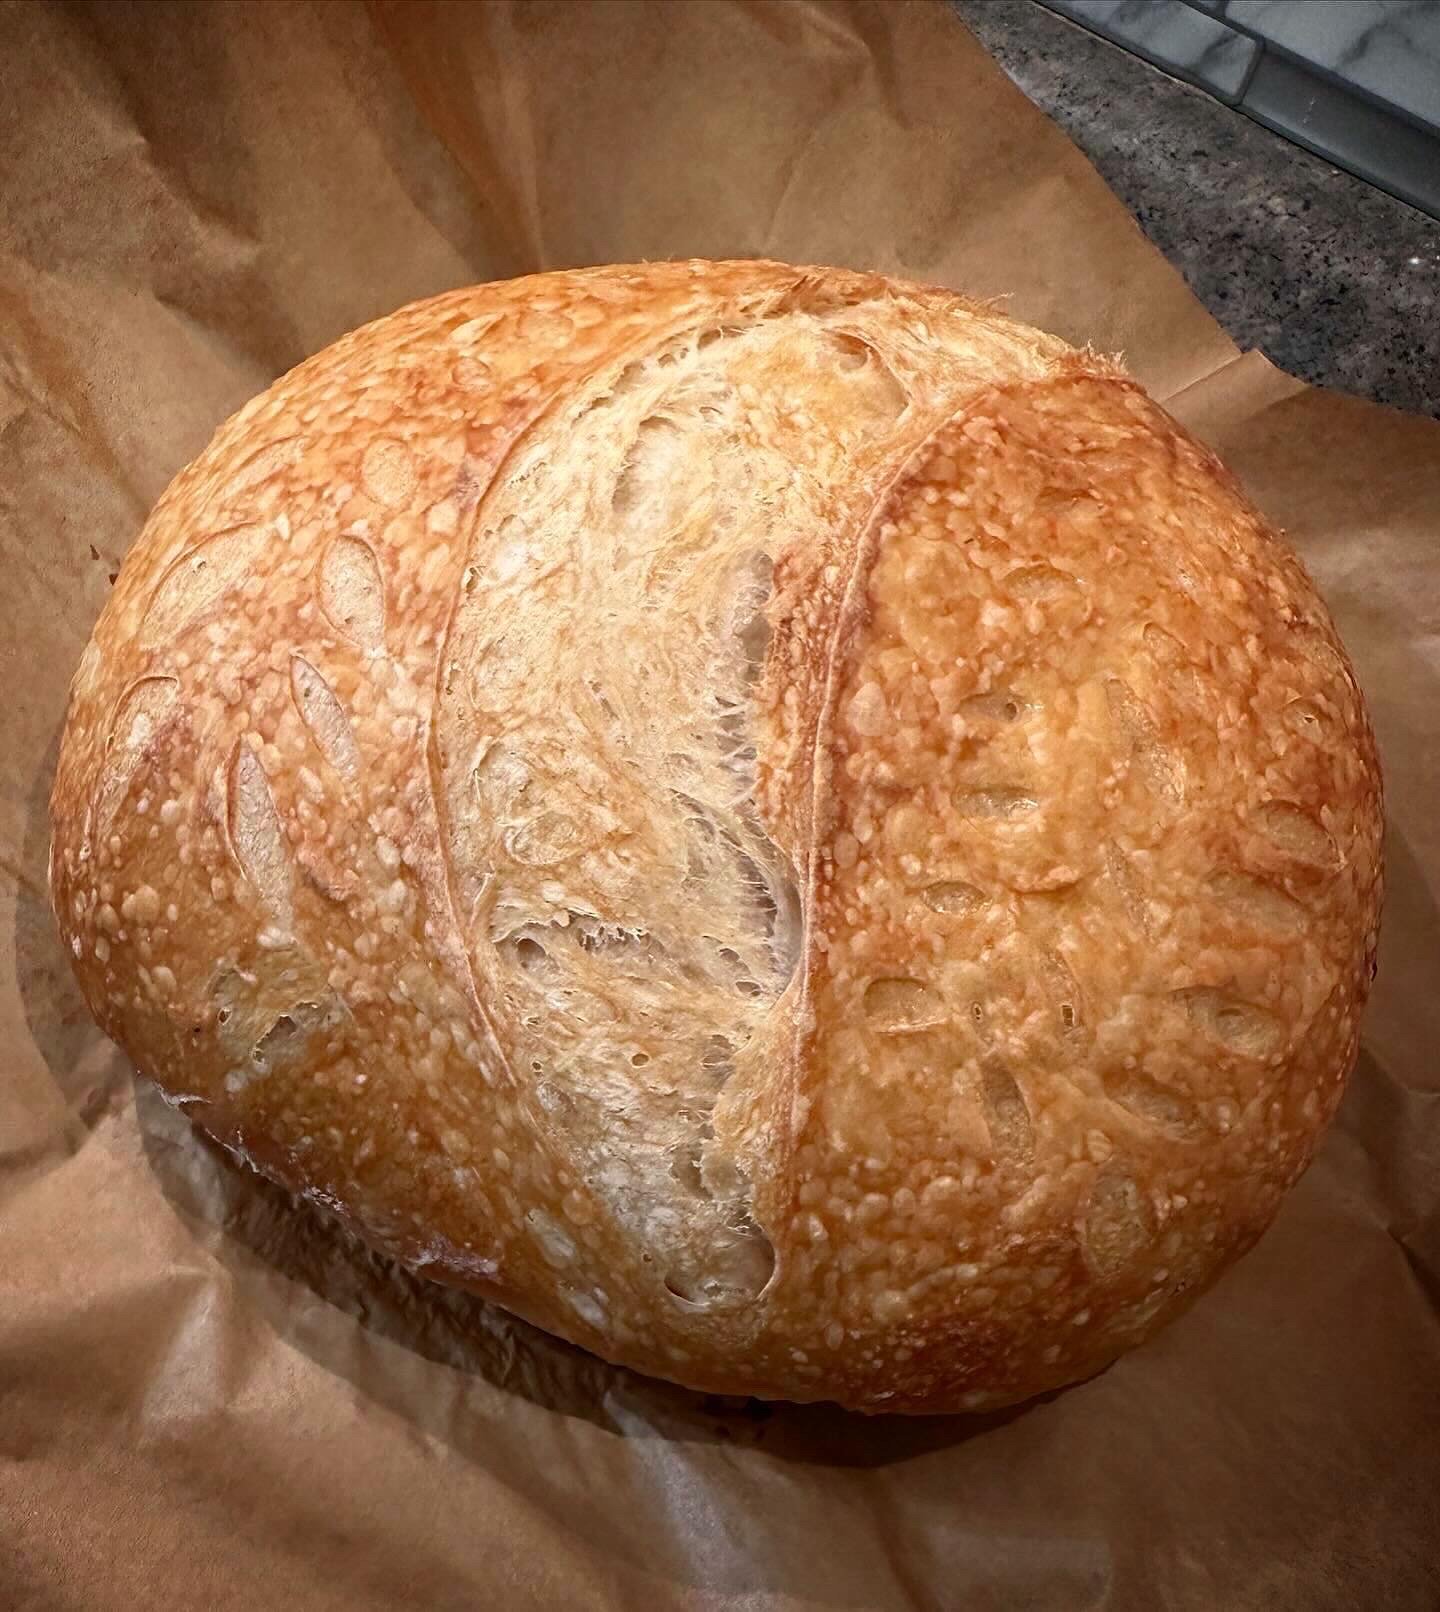
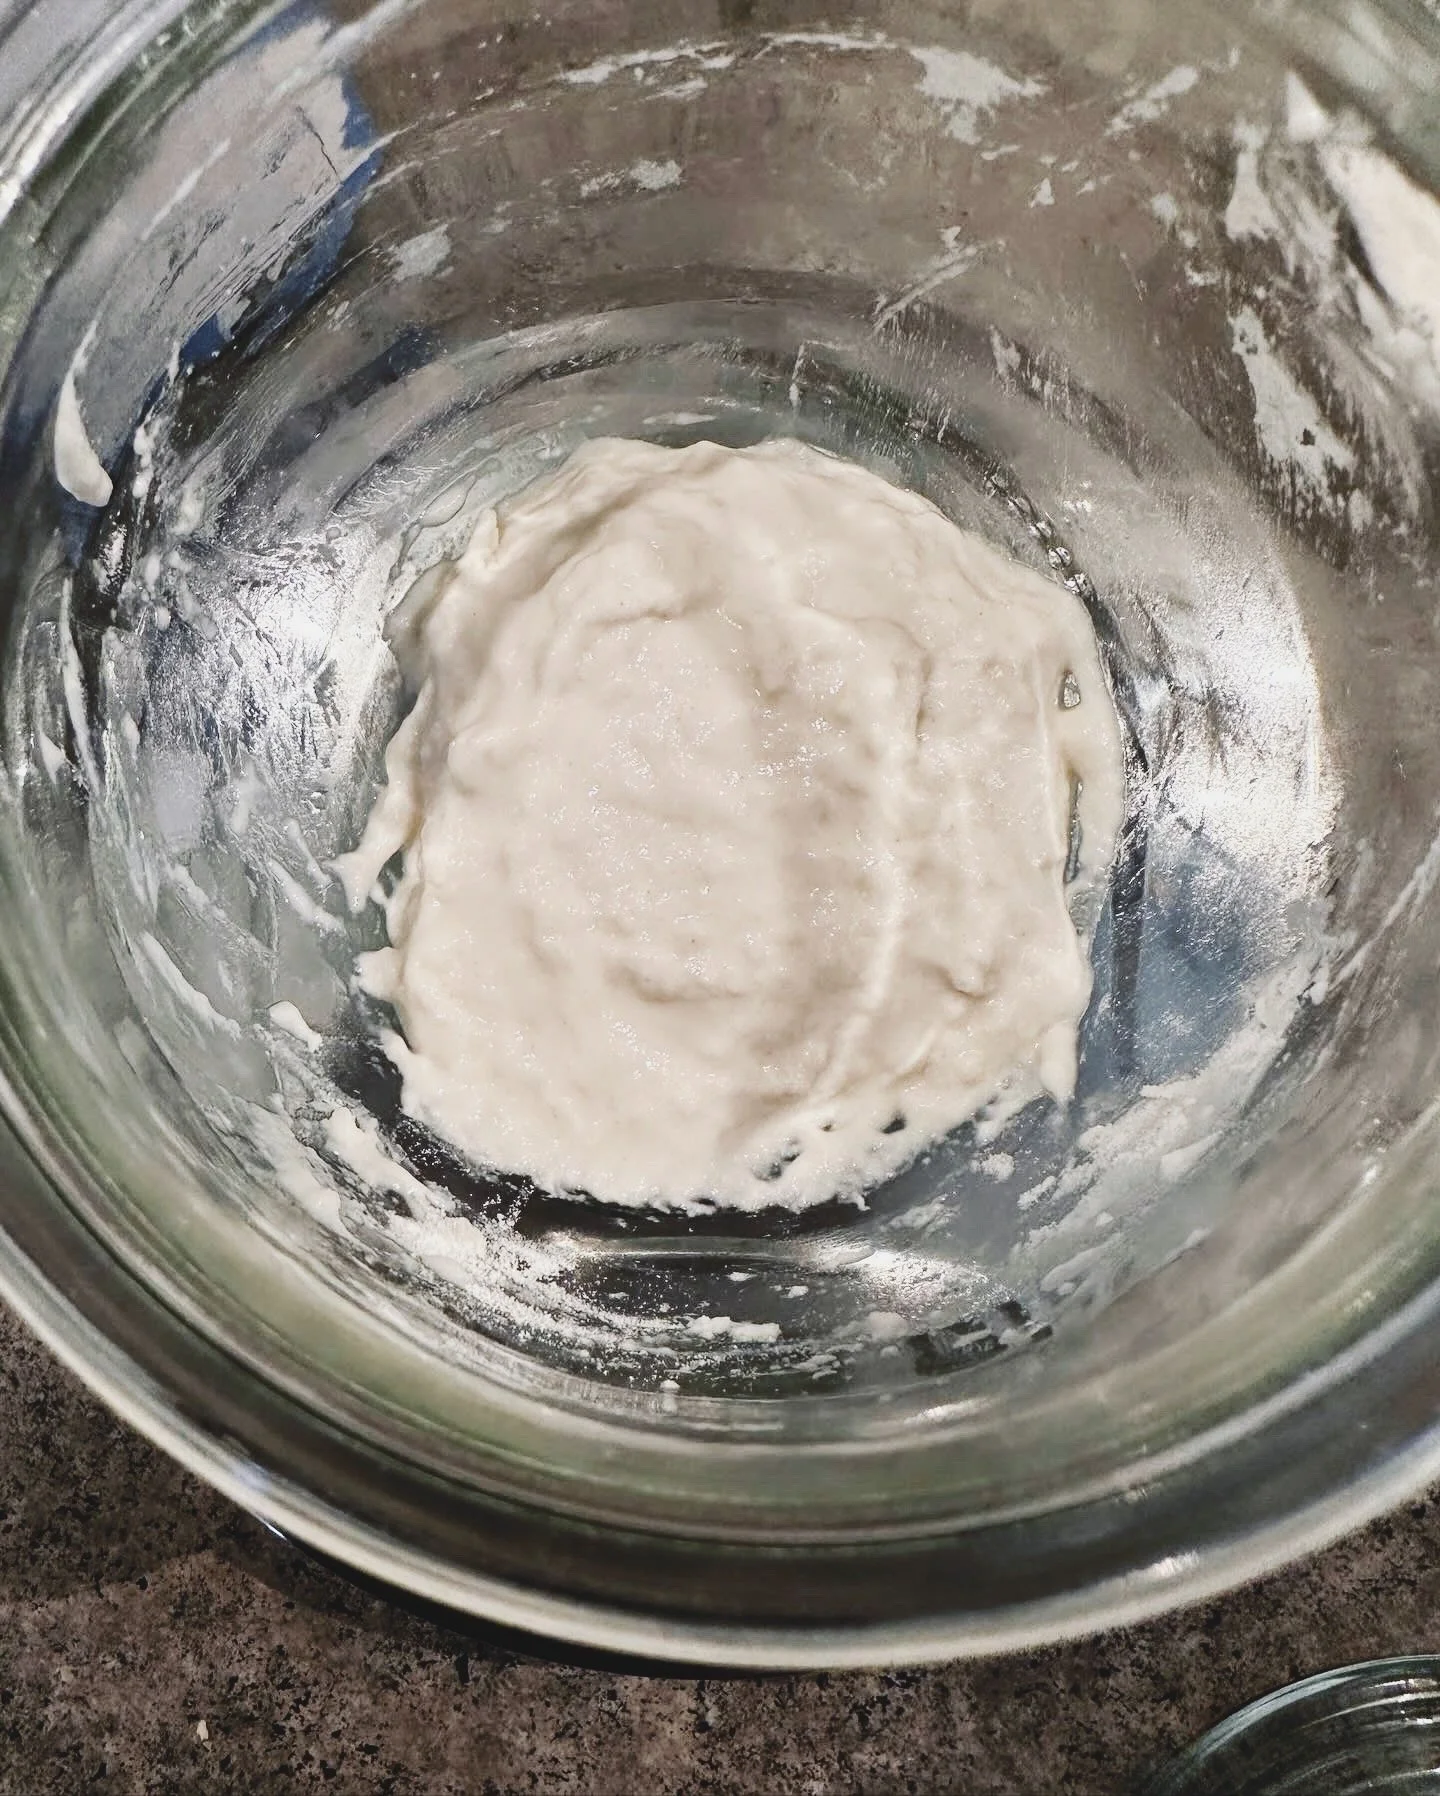
  4. You can tell from the first photo that I still have lots to learn, but the aesthetics part of sourdough making, but it is a delicious journey— and I mean that, because this bread is delicious!

  5. This is ONLY for rehydrating the starter, and will be sharing in a separate post about next steps.


Here are other amazing link-ups I enjoy—

Come and join us!

In The Kitchen: Nutella Babka


As soon as temperatures dip, my baking switch is turned on and I want to bake all the things! Recently, I have been experimenting with recipes I would have never considered because they seem complicated, but once you try them, you wonder why you waited. And today’s recipe is one of those.

One of my most dear friends is Jewish, and one recipe she loves is called babka. According to wikipedia, babka is a sweet braided bread which is believed to have originated in the Jewish communities of Poland and Ukraine. It is popular in Israel and in the Jewish diaspora. It is prepared with a yeast-leavened dough that is rolled out and spread with a filling such as chocolate, cinnamon, fruit, or cheese, then rolled up and braided before baking.

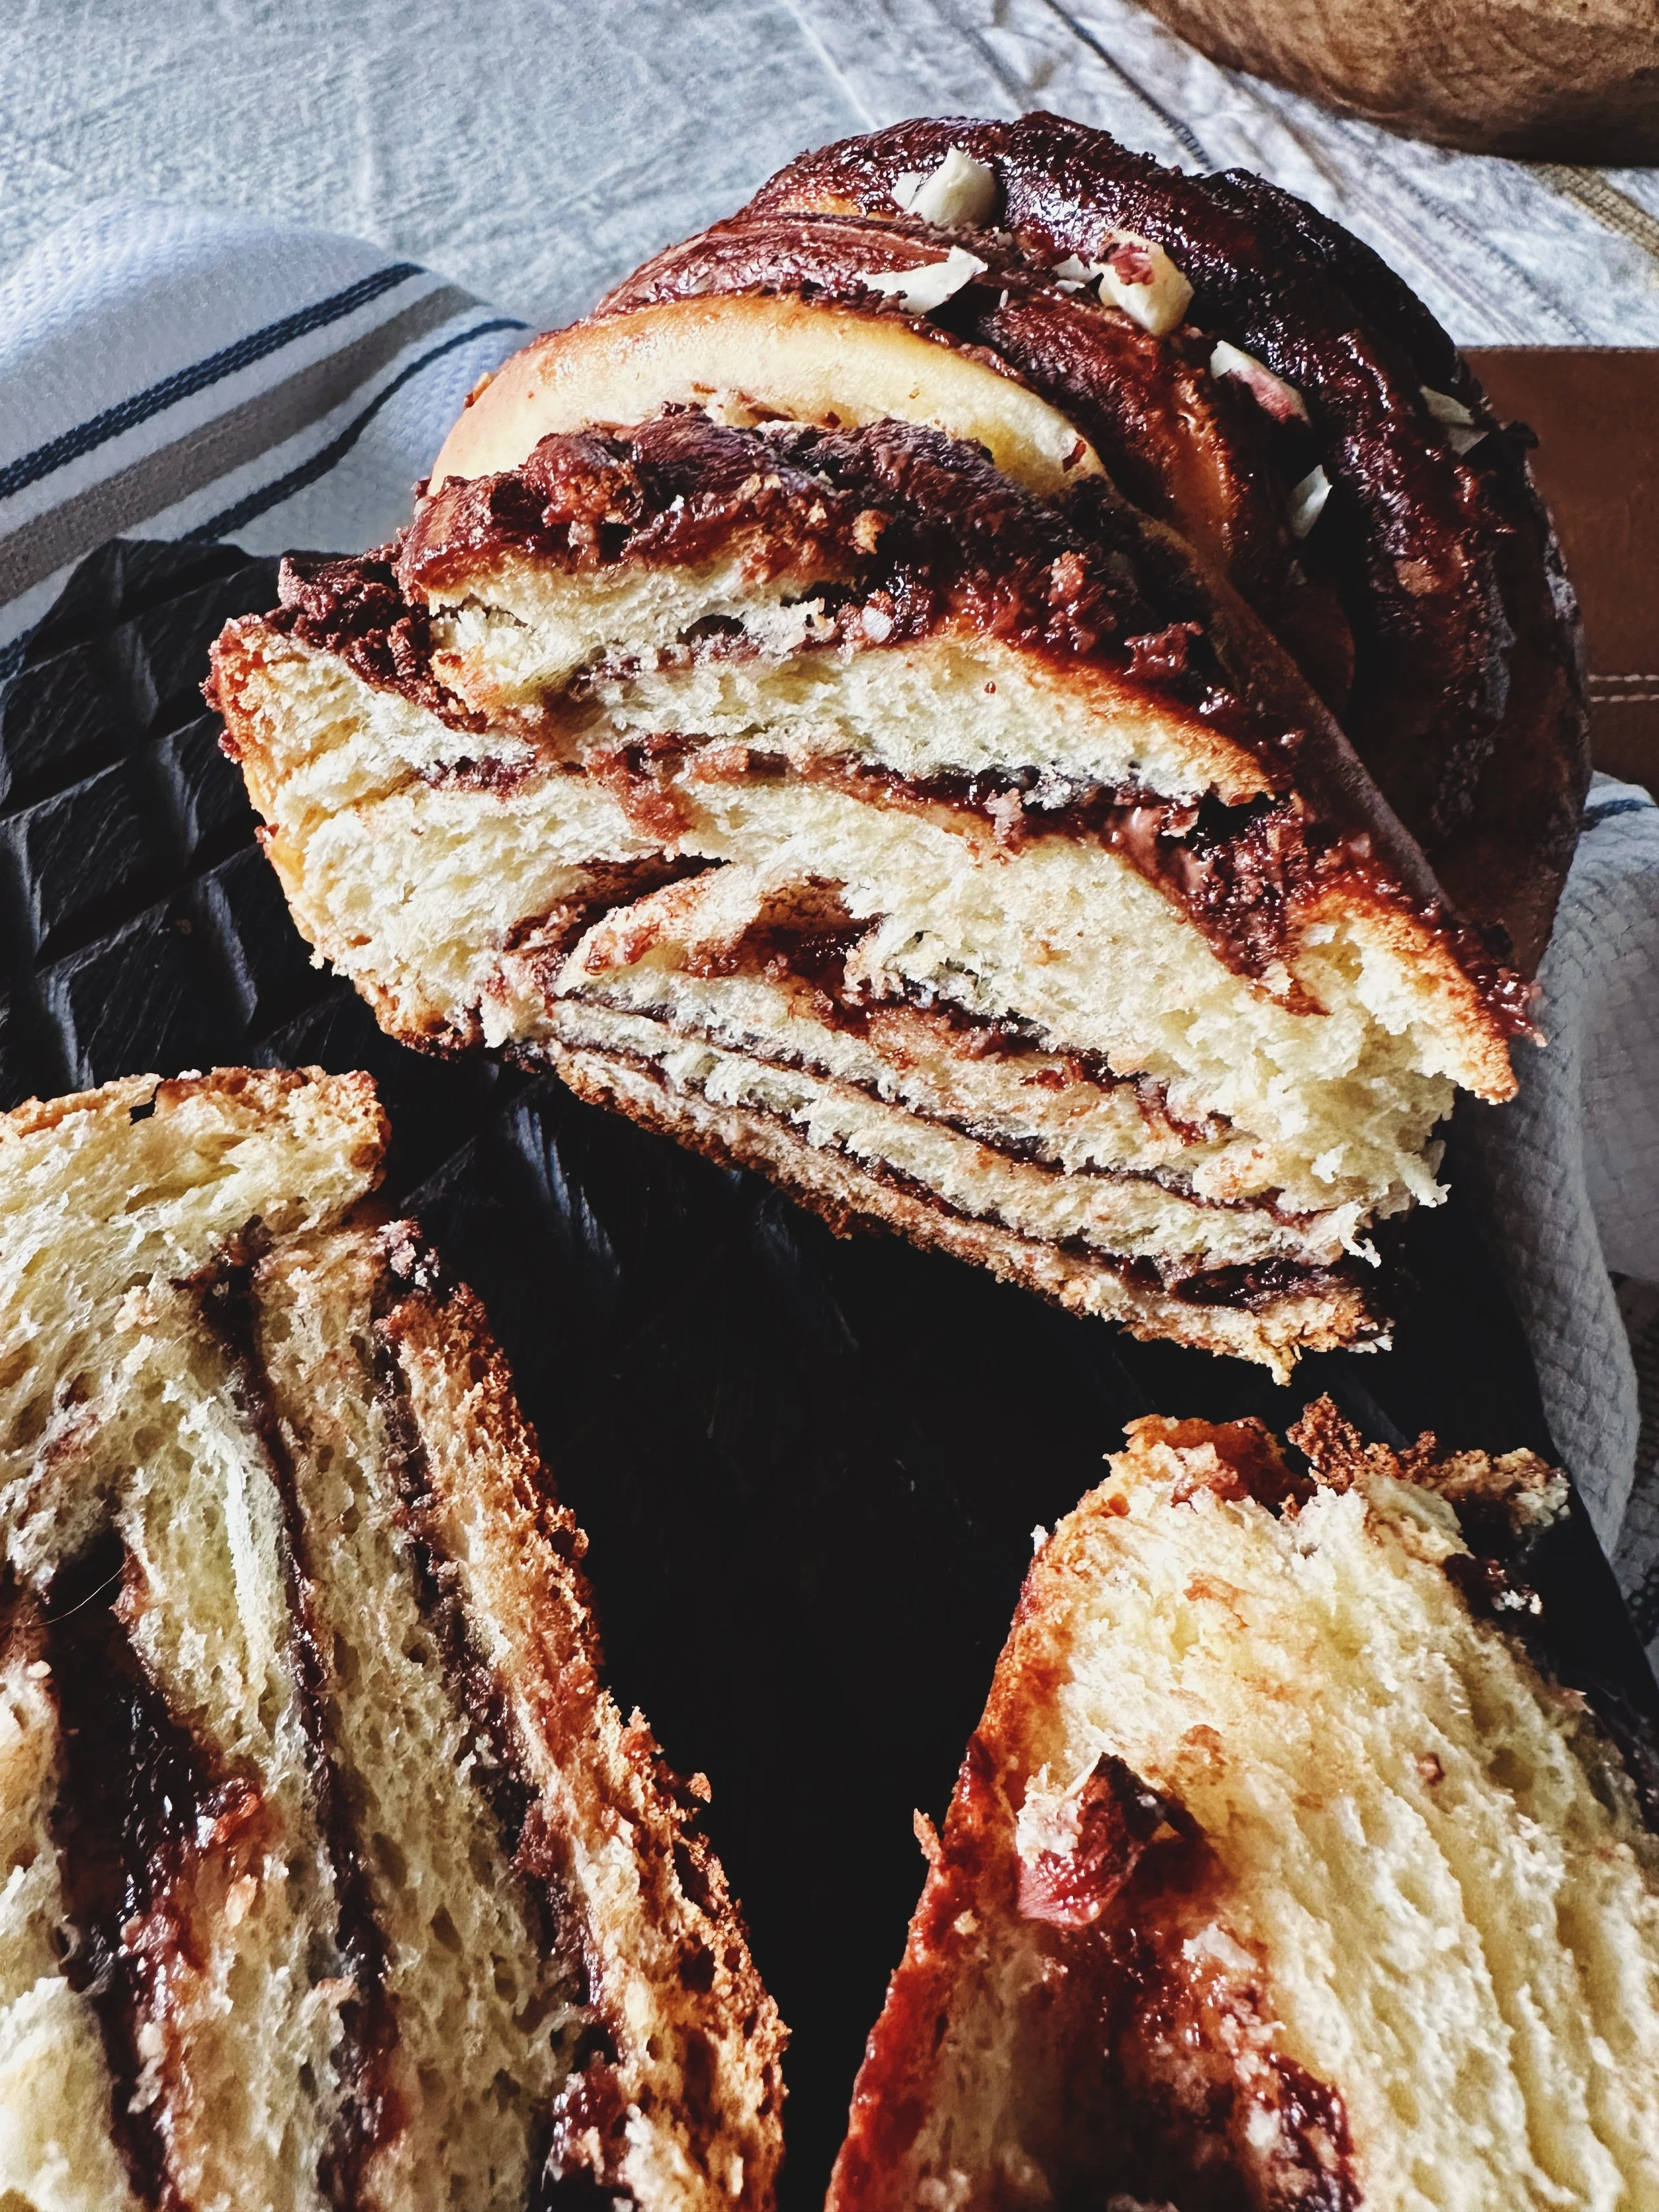
I first became intrigued by it because of its intricasies. It is just a beautiful bread to make, and once you cut into it. And while the finished baked product looks extra dark, it is one of the things I love the most. The golden, almost brown exterior that it a bit crunchier than the interior.

A few notes about babka—

  1. This is not a short process. You have to dedicate time to make it. It takes about two-days to make. However, the results yields two loaves and the delicious result is so worth it.

  2. This bread is basically a brioche— moist and buttery with swirls of dark deliciousness.

  3. There are a variety of fillings, but when I want to save time, I got for Nutella and the results are always a hit with the family.

  4. As good as this bread is, it will start drying after a day, so make sure you wrap it very well. You can also freeze it (freezes very well).

  5. DO NOT SKIP the syrup. It helps to keep the bread moist.

I have tried a few babka recipes, and so far my favorite is the one I am sharing today adapted from Preppy Kitchen. It is super easy and so delicious! I do hope you give it a try because is a delicious breakfast or dessert— whichever you prefer! And it is just so pretty— sorry, but I eat with my eyes. :) Have a wonderful week!


Nutella Babka (Adapted from Preppy Kitchen)

For the Dough:

  • 4½ cups all-purpose flour (540g)

  • ½ cup granulated sugar (100g)

  • 2¼ teaspoons instant yeast (1 .25-ounce packet)

  • 4 large eggs room temperature

  • ½ cup whole milk room temperature

  • 1½ teaspoons kosher salt

  • 10 tablespoons unsalted butter room temperature (142g)

For the Filling:

  • ½ cup unsalted butter cubed (113g)

  • ½ cup heavy cream (120mL)

  • 8 ounces chopped dark chocolate (225g)

  • ¾ cup powdered sugar (90g)

  • ⅓ cup unsweetened cocoa powder (30g)

For the Syrup:

  • ⅓ cup granulated sugar (66g)

  • ⅓ cup water (80mL)


Instructions

For the Dough:

  • Whisk together the flour, sugar, and yeast in the bowl of a stand mixer. Add the eggs, milk, and salt and mix on low speed using the dough hook attachment until combined and a dough starts to form, for about 2 minutes.

  • Add the butter a tablespoon or so at a time, waiting for the butter to be incorporated before adding more. Once all the butter has been added, continue kneading until a smooth elastic dough forms, about 10 minutes, scraping down the sides of the bowl occasionally. The dough will still feel sticky but will be very stretchy.

  • Transfer the dough to a large oiled bowl, turning to coat. Then cover and chill overnight or for at least 8 hours.

For the Assembly:

  • Butter 2 (8x4-inch) loaf pans or spray with baking spray with flour. Then line with parchment paper.

  • On a lightly floured surface, divide the chilled dough in half, and return one dough ball to the fridge. Gently roll the dough into a 12x16-inch rectangle. Spread half of the Nutella on dough all the way to the edge on three sides, leaving a 1-inch border on one short side. (The dough may pull a little bit while spreading, but it shouldn’t tear.) Starting at the short side opposite the border, roll the dough into a tight coil, and pinch the seam to seal.

  • Using a large sharp knife, cut the dough in half lengthwise. Position each half parallel to each other with the cut sides facing up. Twist the halves together, keeping the cut sides facing up, and tuck the ends under. Gently place in a prepared loaf pan.

  • Repeat with the second half of the dough and the remaining filling.

  • Loosely cover the pans and let rise in a warm place for 1 1/2 to 2 hours or until noticeably puffed. (It won’t quite double in size)

  • Preheat the oven to 350F.

  • Bake the risen loaves for 40 minutes or until the tops are golden brown, and a wooden pick can be inserted into the center without resistance and comes out clean.

For the Syrup:

  • While the babkas are baking, combine the sugar and water in a small saucepan. Bring to a simmer over medium heat, stirring until the sugar is fully dissolved. Remove from the heat.

  • Brush the loaves with the syrup immediately when they come out of the oven. Let the babkas cool for 30 minutes in the pans. Serve warm or at room temperature.

  • ENJOY!


Here are other amazing link-ups I enjoy—

Come and join us!