Summer Cocktail Makeover: Frozen Hugo Spritz


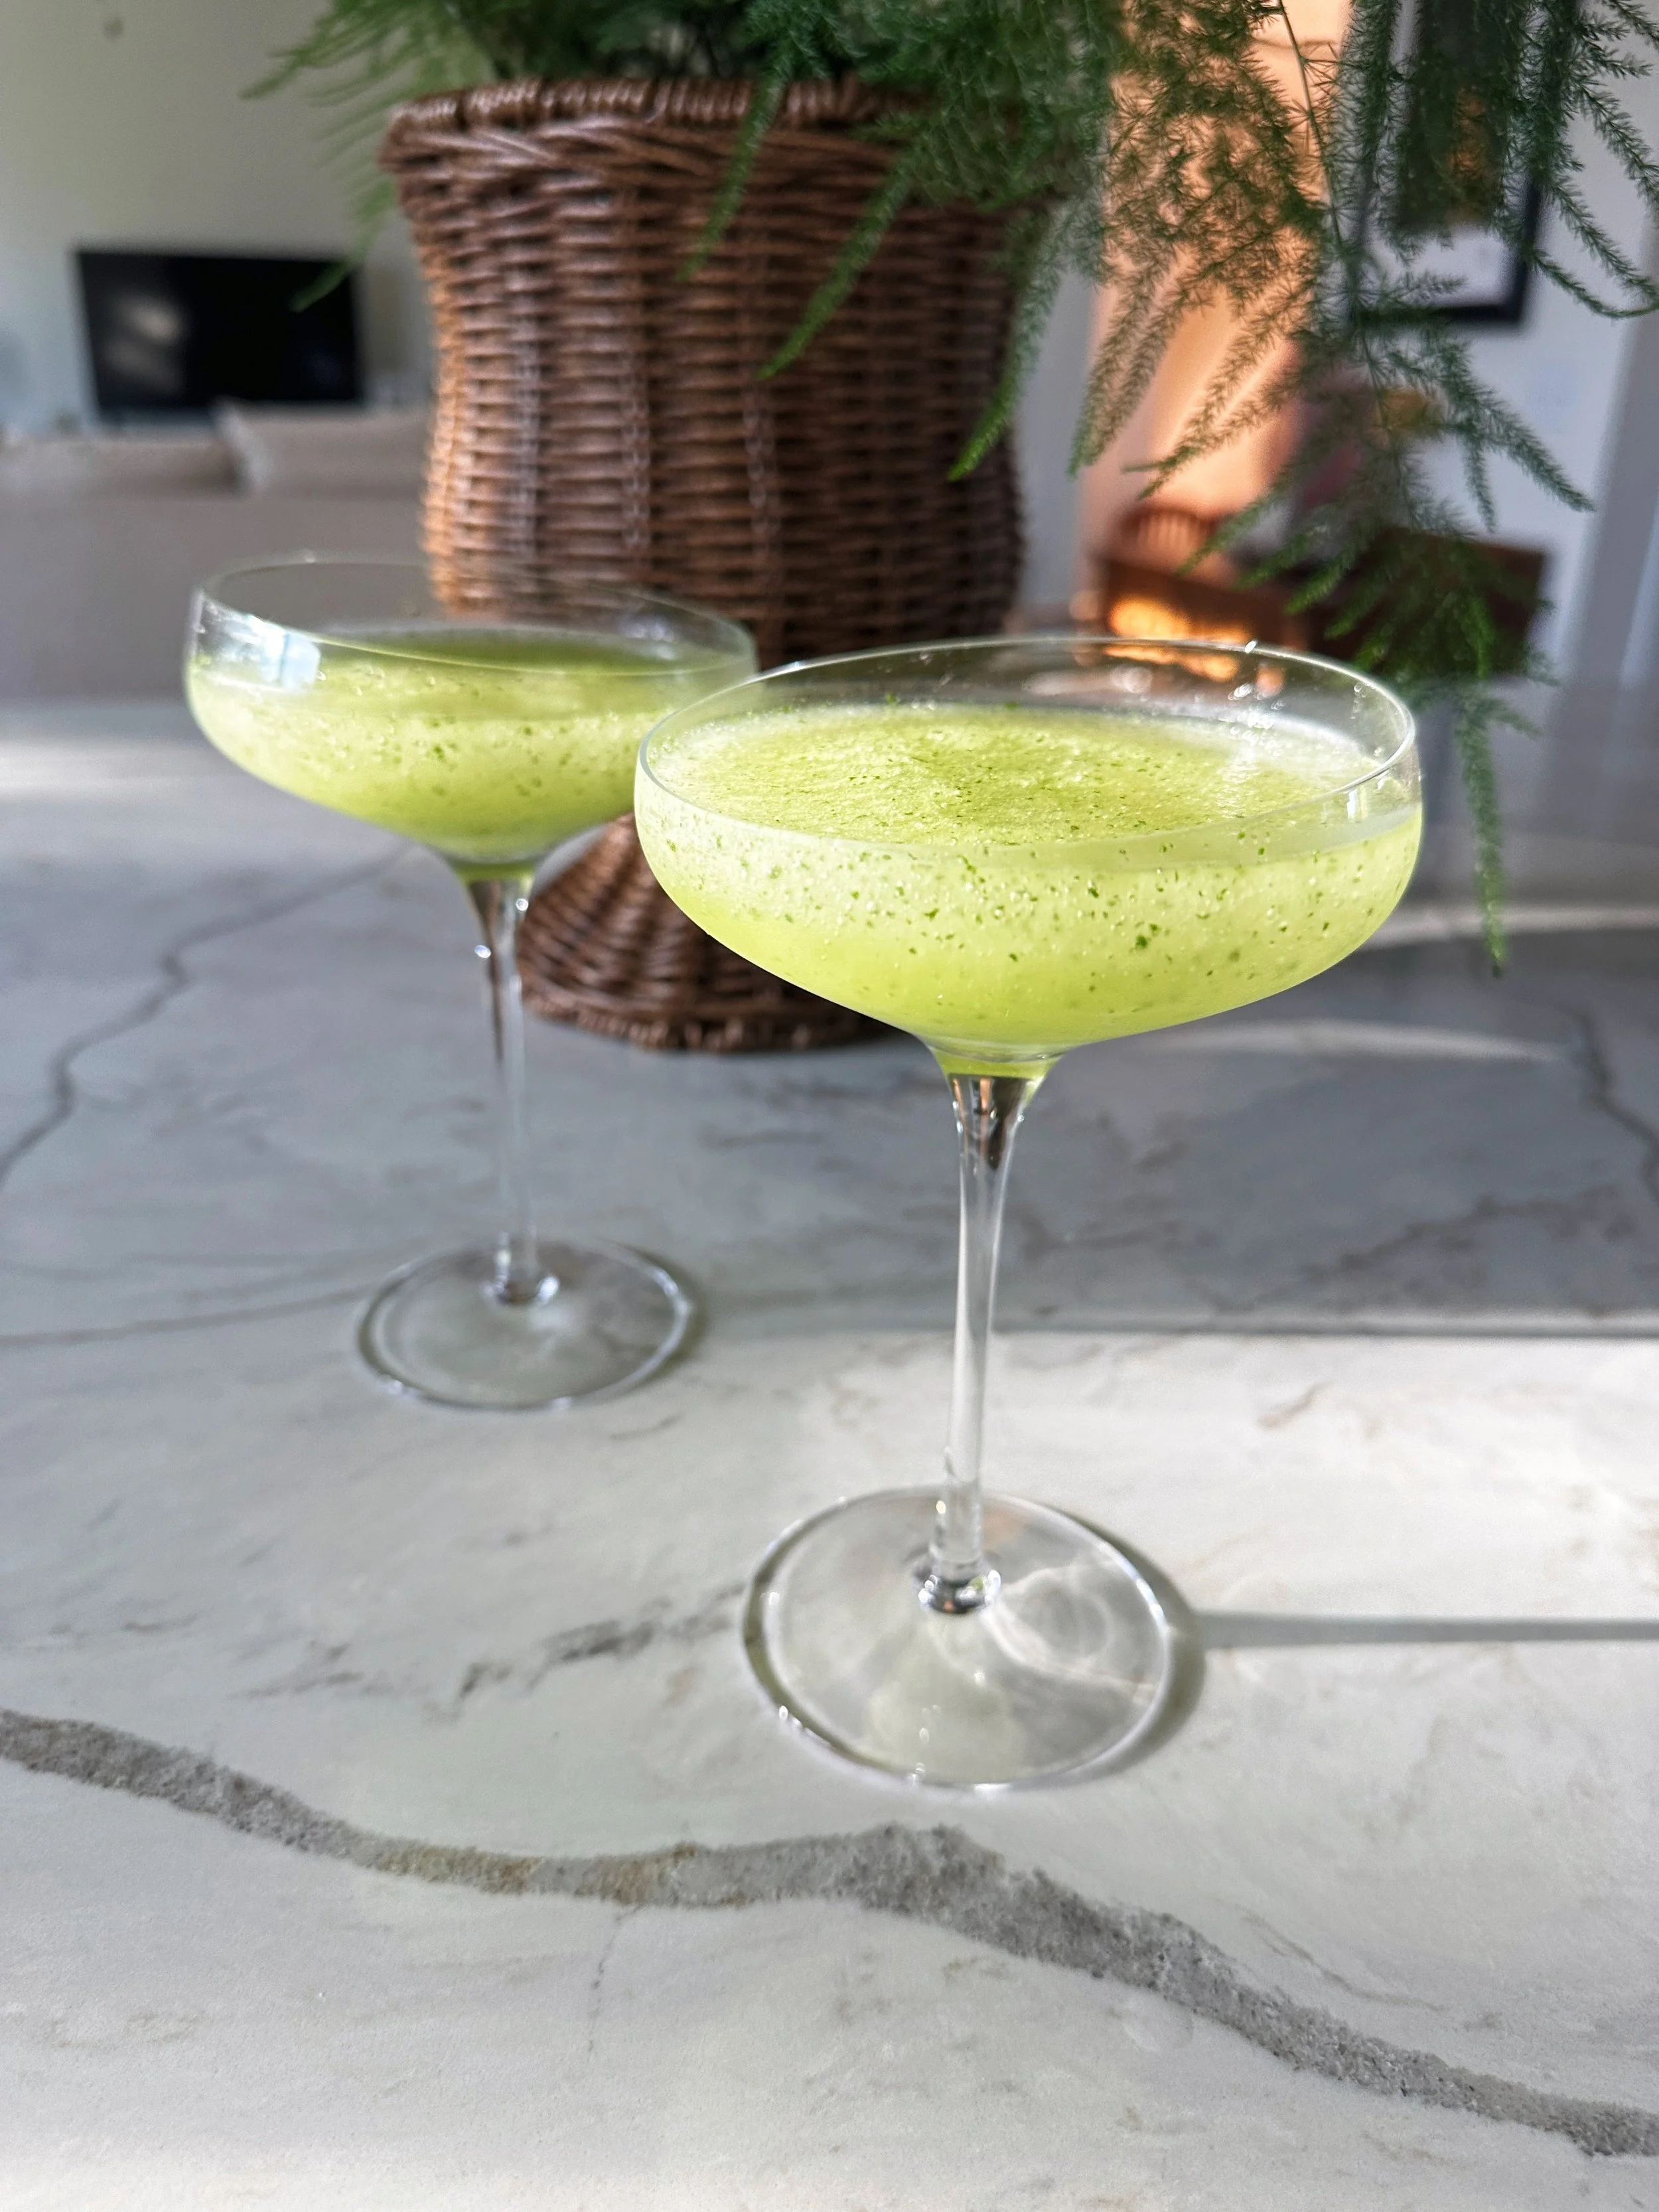
Warm evenings call for something icy, floral, and just a little bit indulgent, which is probably why my go to cocktail is an Aperol spritz. But I wanted to try something new to me, and a friend recommended a Hugo spritz. But the minute I tried it I knew it would make a delicious frozen cocktail as well — which is exactly why I gave the classic Hugo Spritz a frozen summer makeover.

Traditionally made with elderflower liqueur, prosecco, mint, and sparkling water, the Hugo is already one of the most refreshing cocktails around. But blended with ice? It becomes the ultimate porch-sipping, sunset-watching, heatwave survival drink.

This frozen version keeps the light botanical flavor that makes the original so beloved while turning it into a slushy cocktail that feels elegant but playful. Fresh mint brightens every sip, lime adds a little zing, and the bubbly keeps it crisp instead of overly sweet. Think grown-up snow cone with garden-party energy.

Whether you’re hosting brunch, lounging on the patio, or simply trying to survive Midwest humidity, this Frozen Hugo Spritz deserves a spot in your summer rotation. Light, sparkling, and endlessly sippable — summer in a glass.
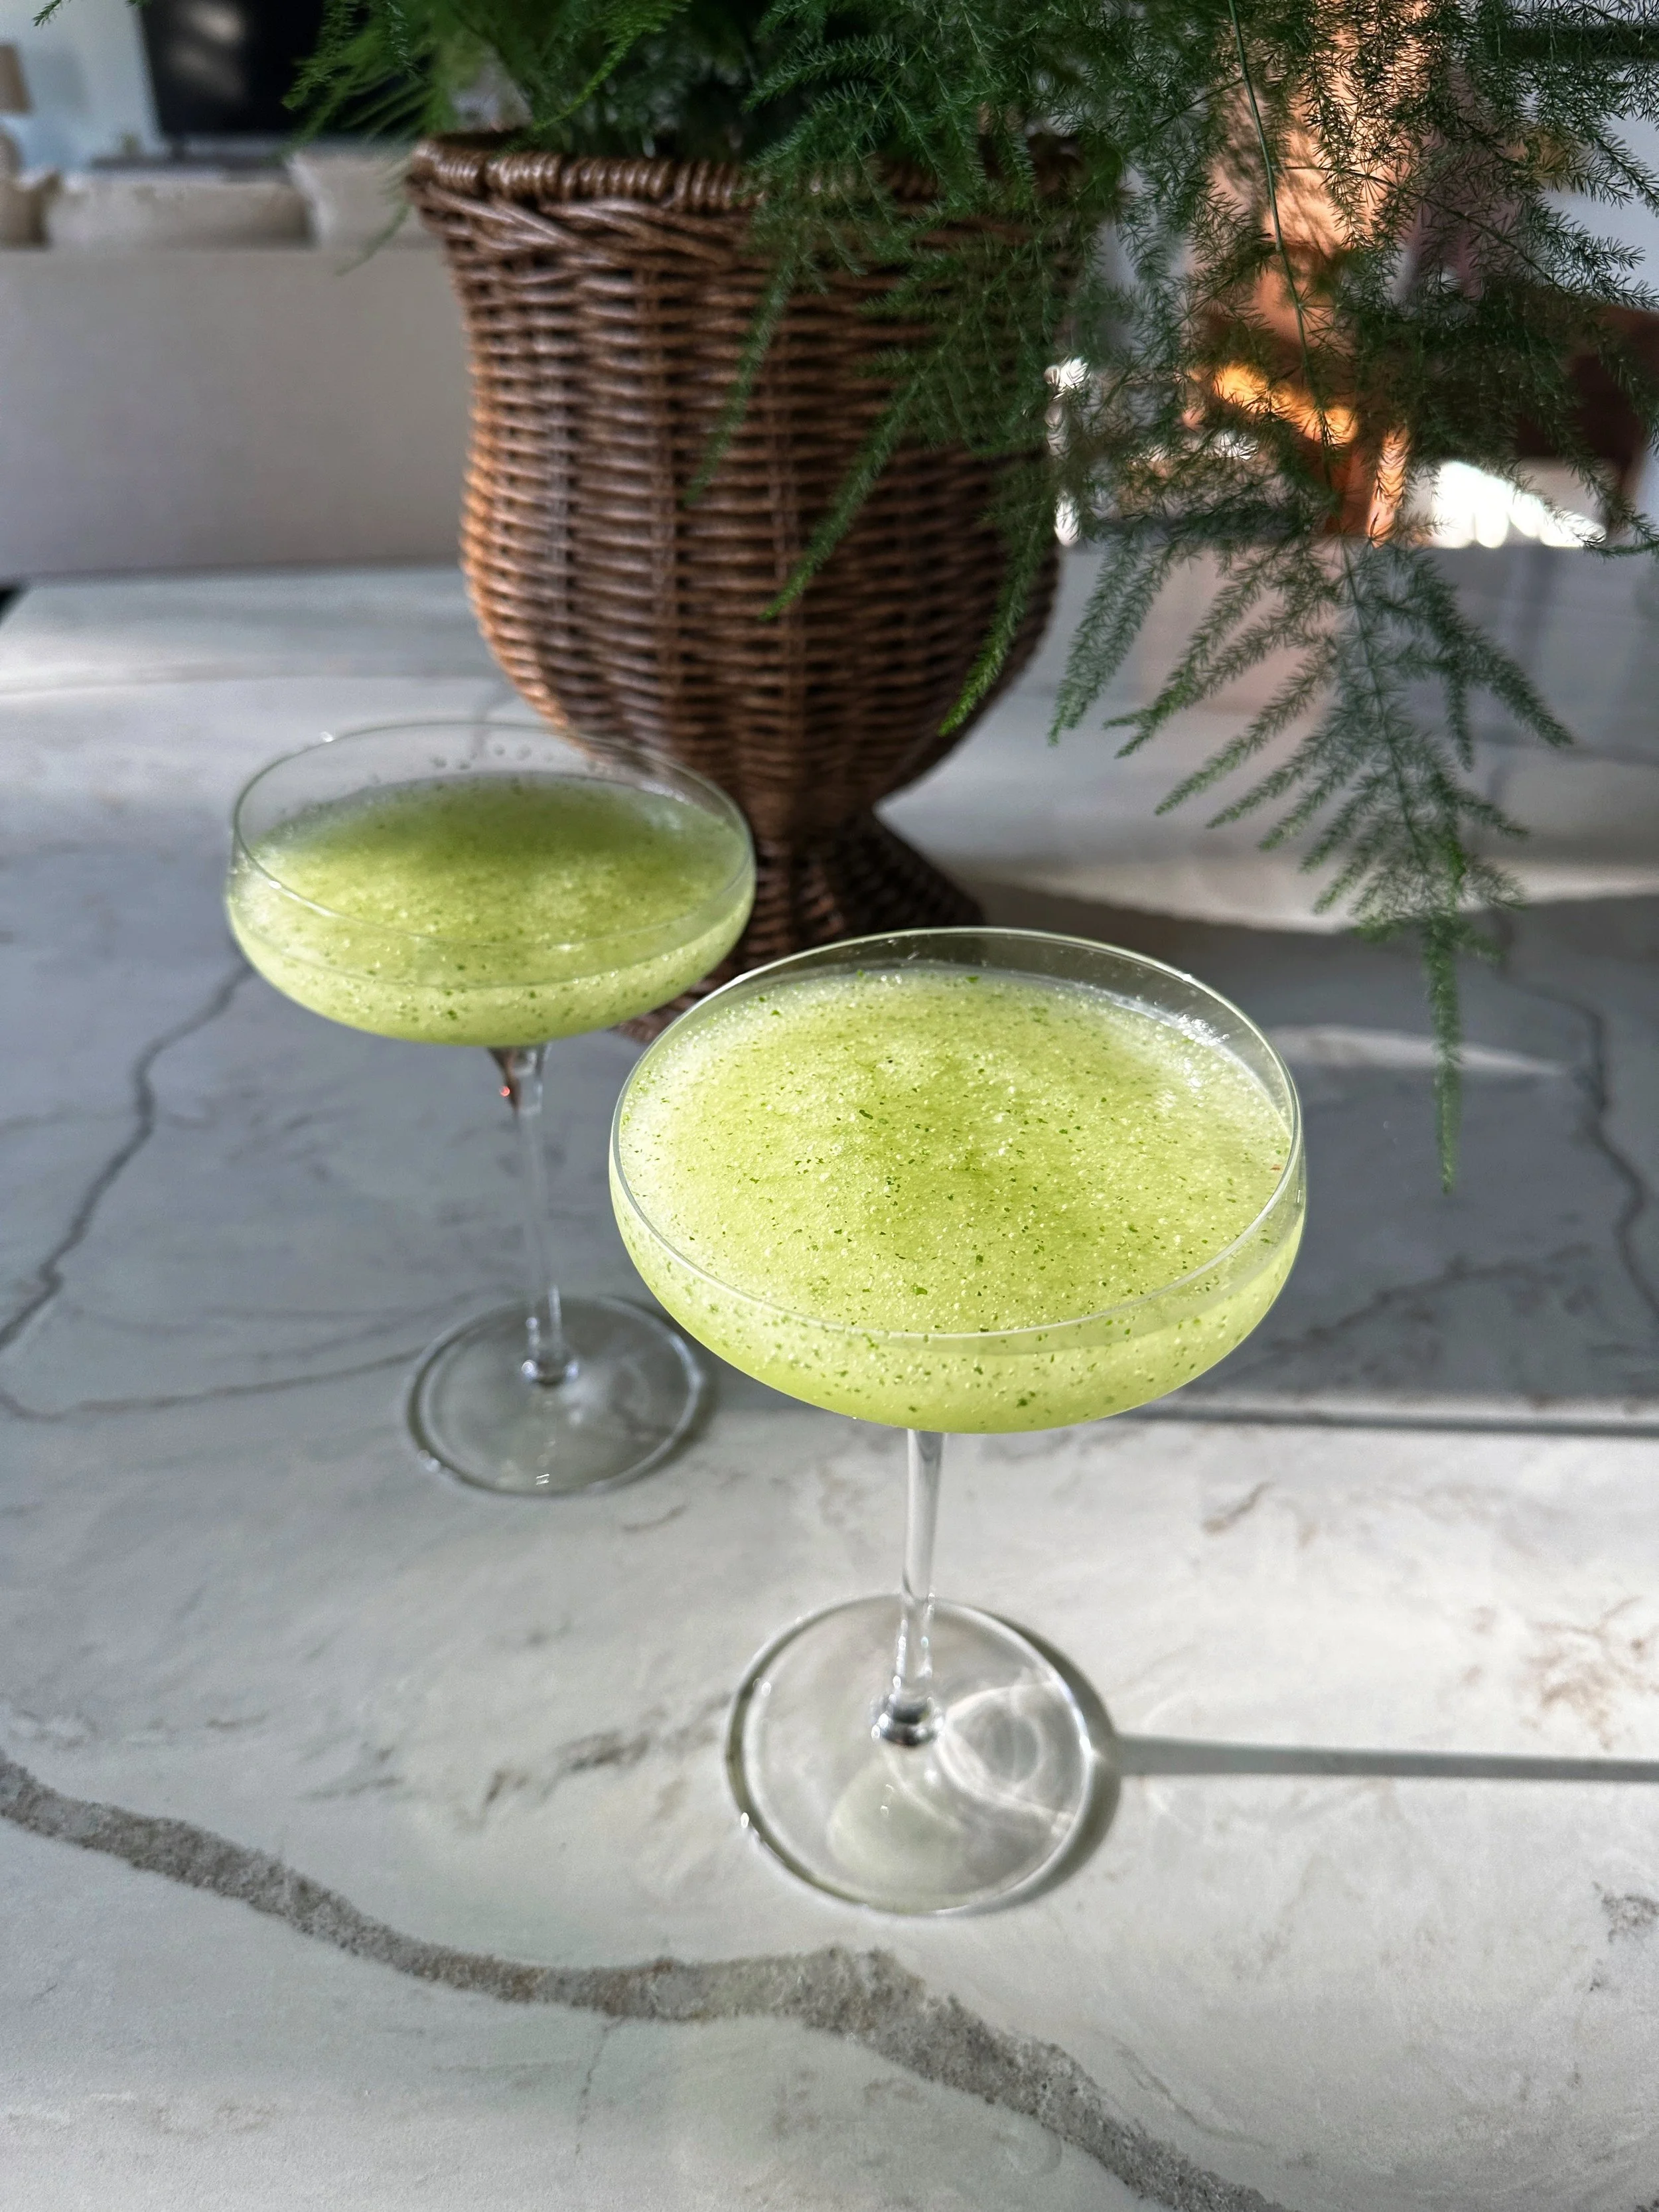
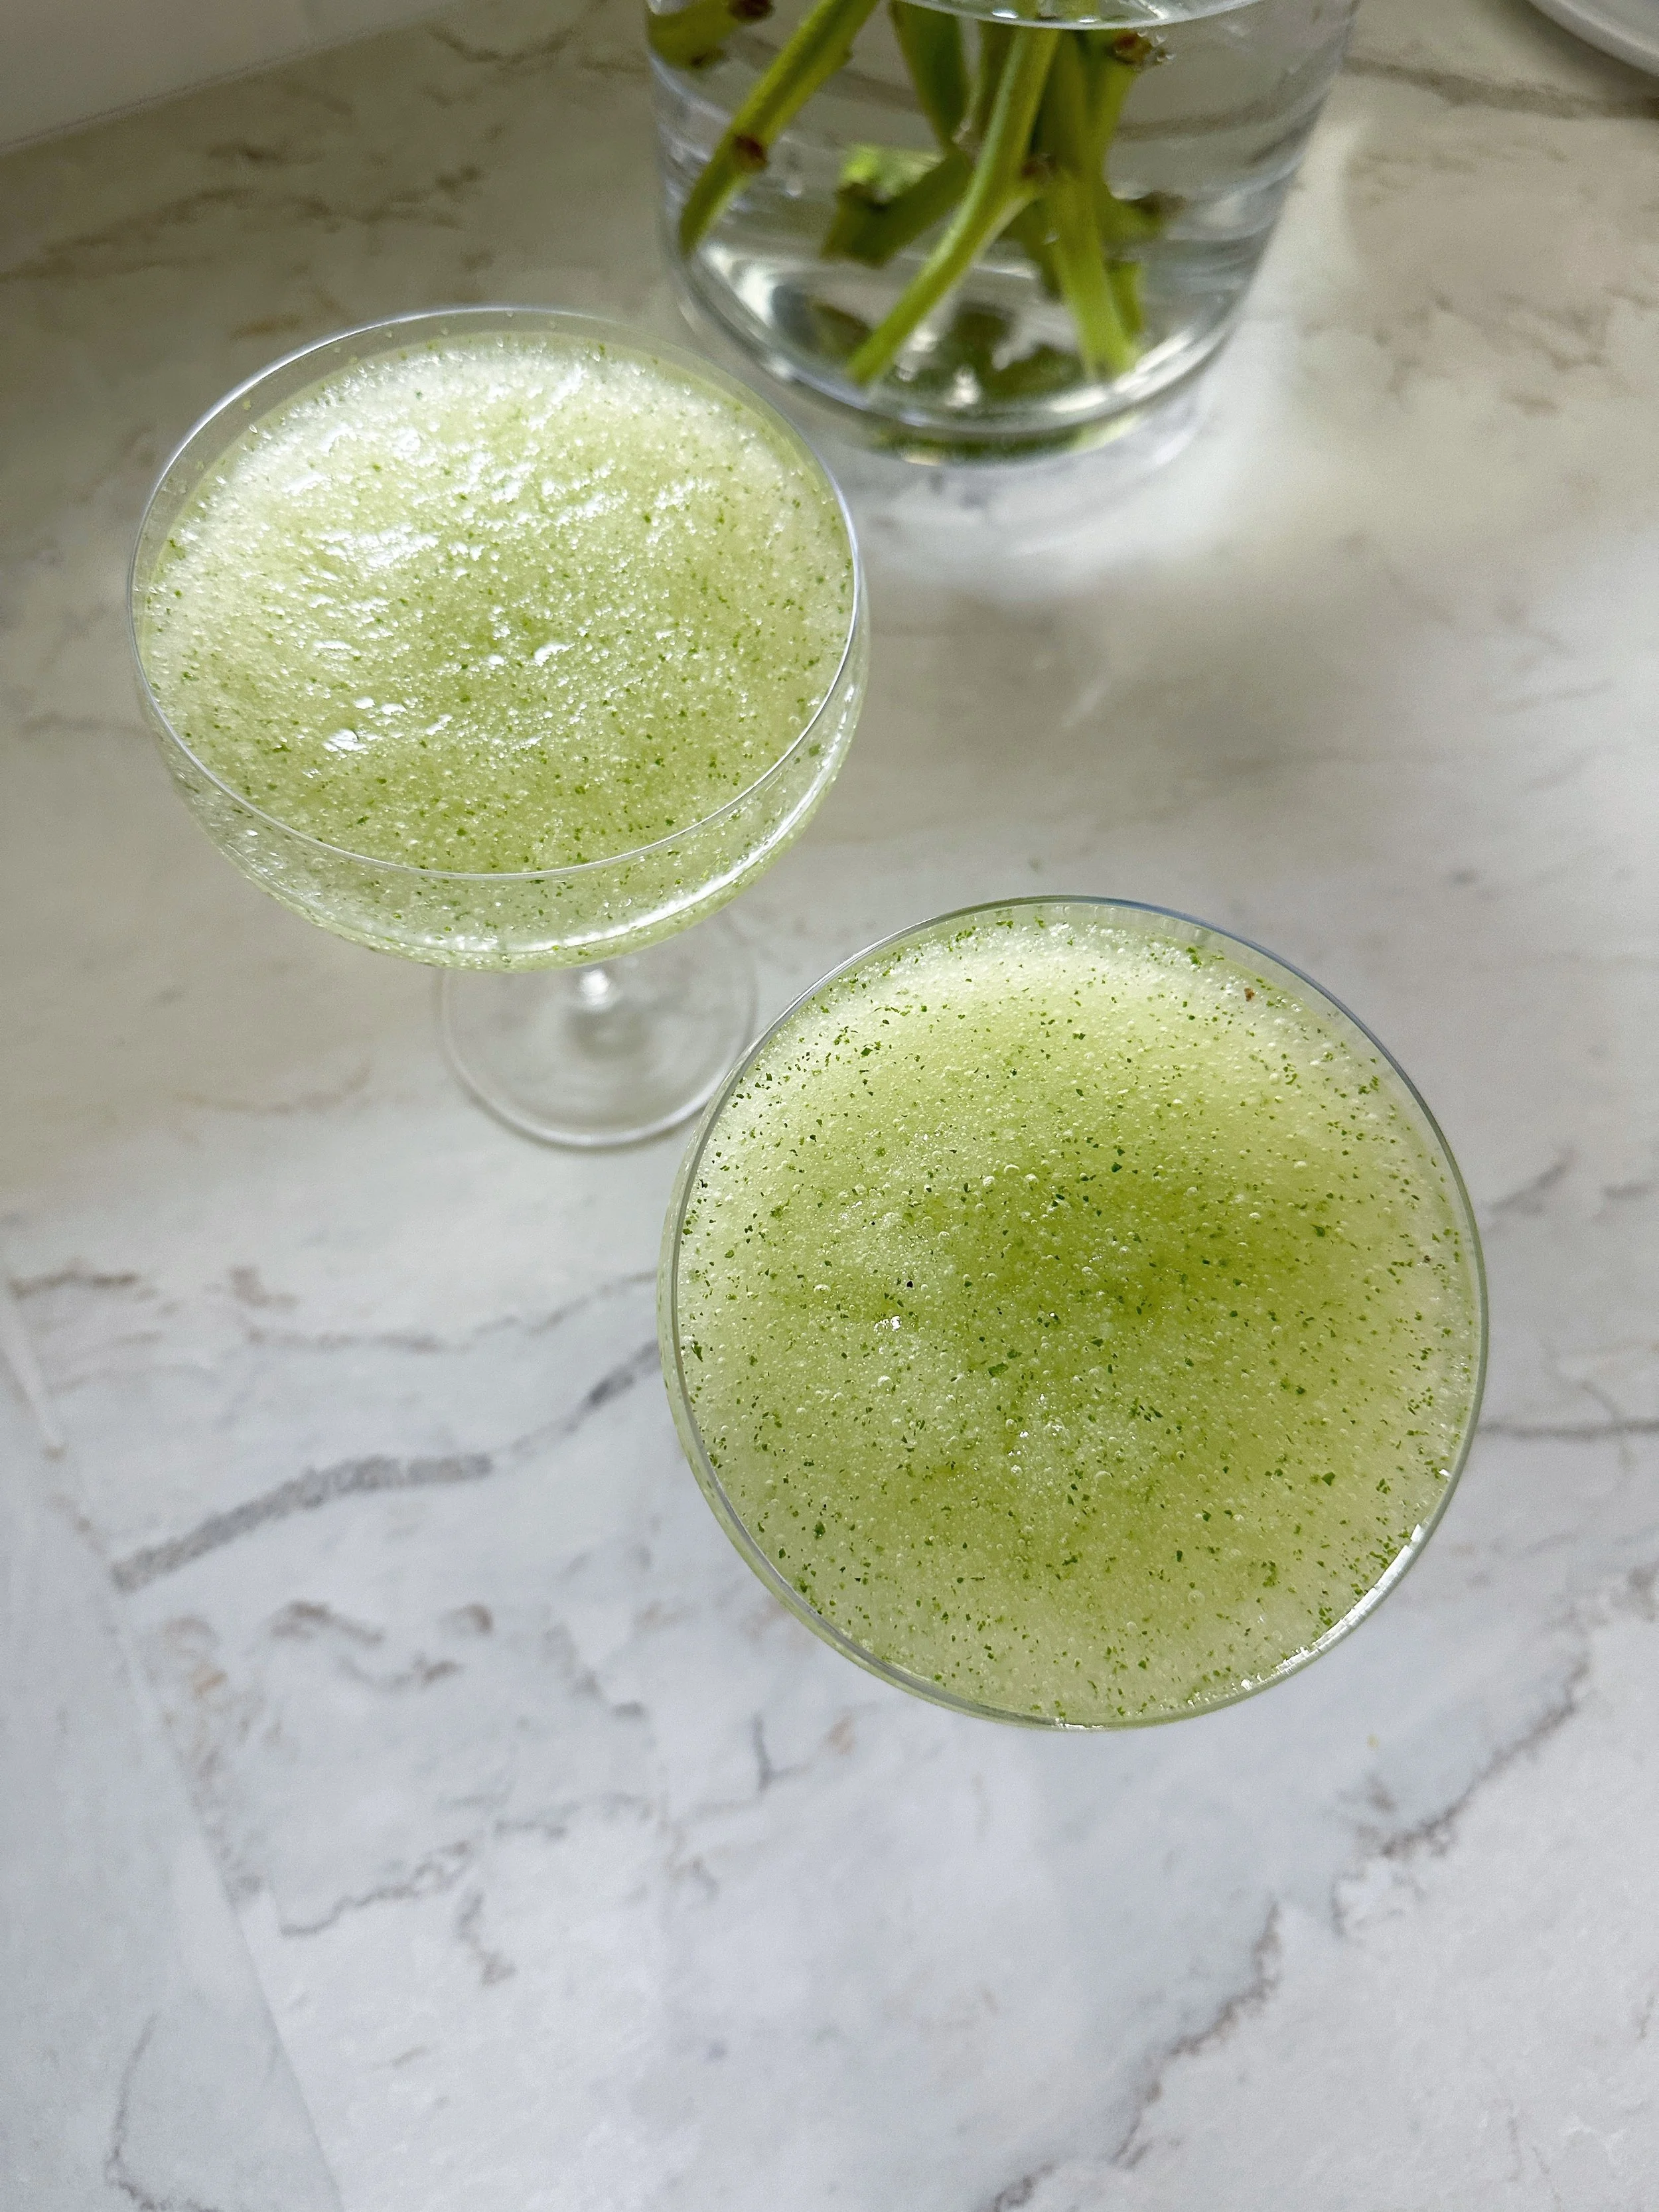
Frozen Hugo Spritz

Ingredients

  • 1½ cups ice (I skip the traditional sparkling water because of the ice)

  • 3 ounces prosecco (I personally prefer champagne, and it works great)

  • 1½ ounces elderflower liqueur

  • Juice of ½ lime

  • 6–8 fresh mint leaves

  • Lime slices and extra mint for garnish (optional)

Instructions

  1. Add ice, prosecco, elderflower liqueur, lime juice, and mint leaves to a blender.

  2. Blend until smooth and slushy.

  3. Pour into chilled wine glasses or coupe glasses.

  4. Garnish with fresh mint and lime slices (optional).

  5. Serve immediately while frosty and sparkling.

Light, floral, and ice-cold, this Frozen Hugo Spritz is the kind of cocktail that turns an ordinary summer evening into something worth lingering over.


Trying Something New: The Quiet Charm of Edible Rice Paper Flowers


Lately I’ve been leaning into slower kitchen projects — the kind that don’t take a lot of effort but still make everyday things feel a little more special. These rice paper flowers are exactly that.

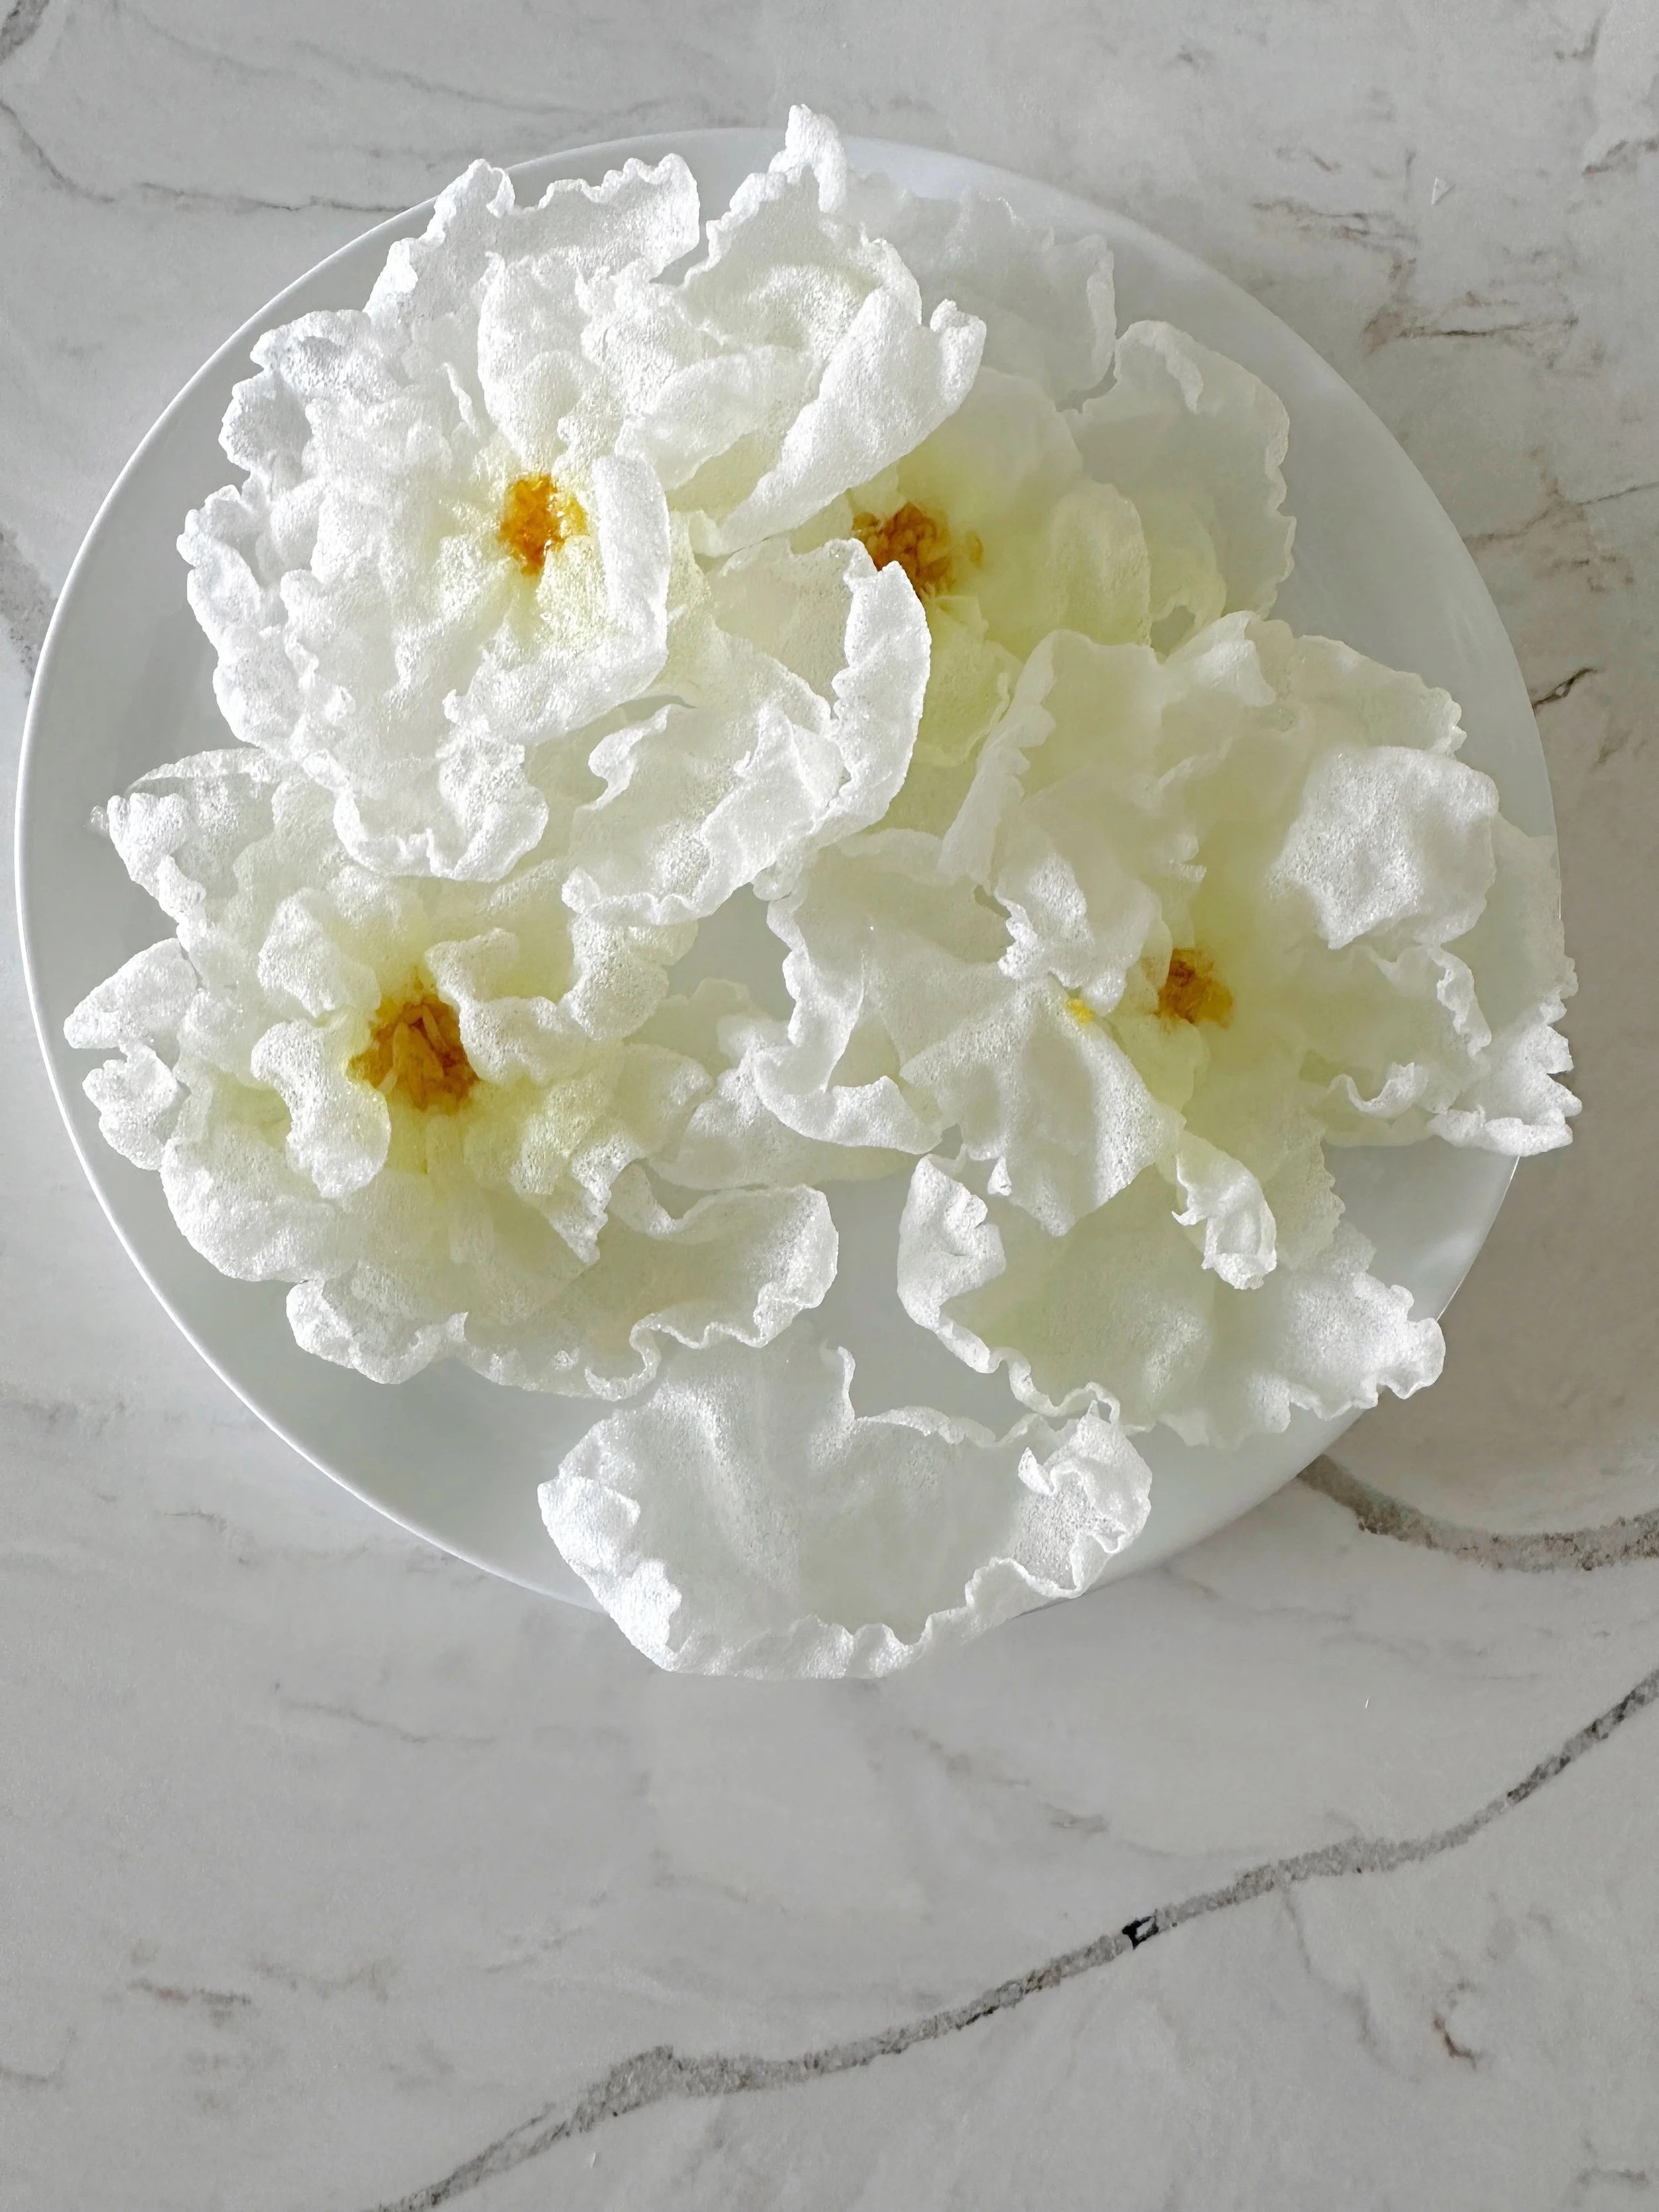
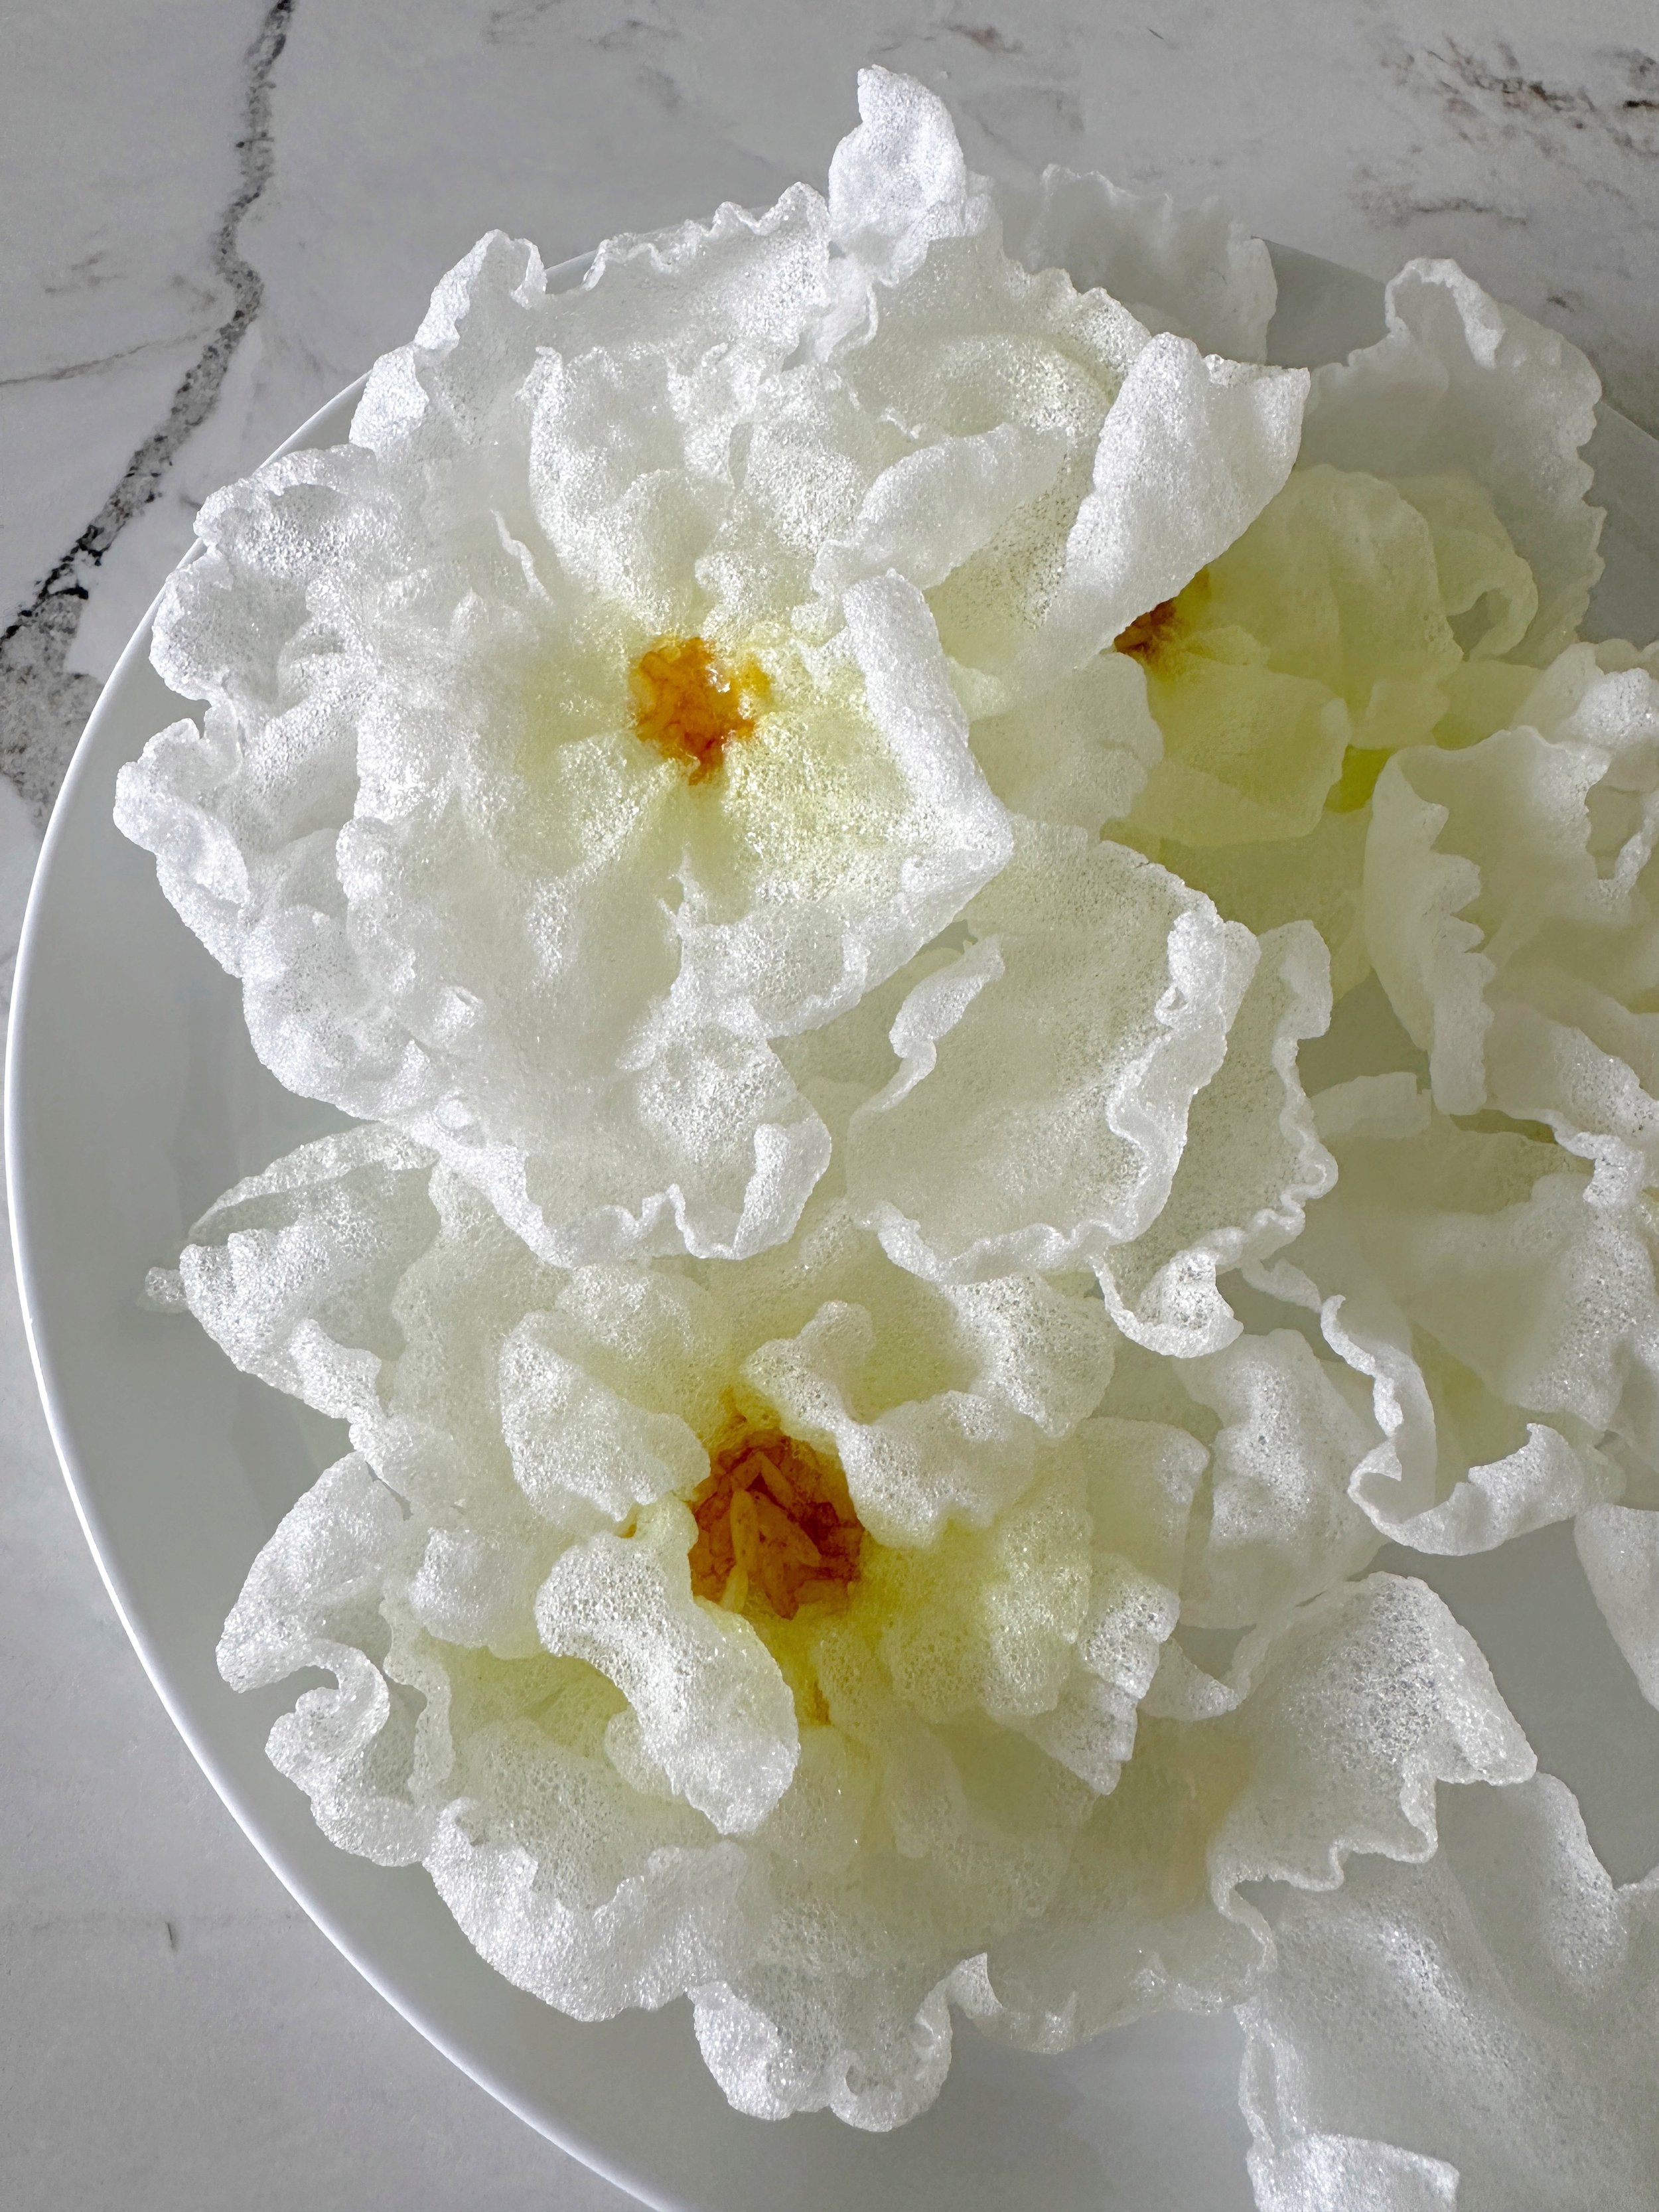
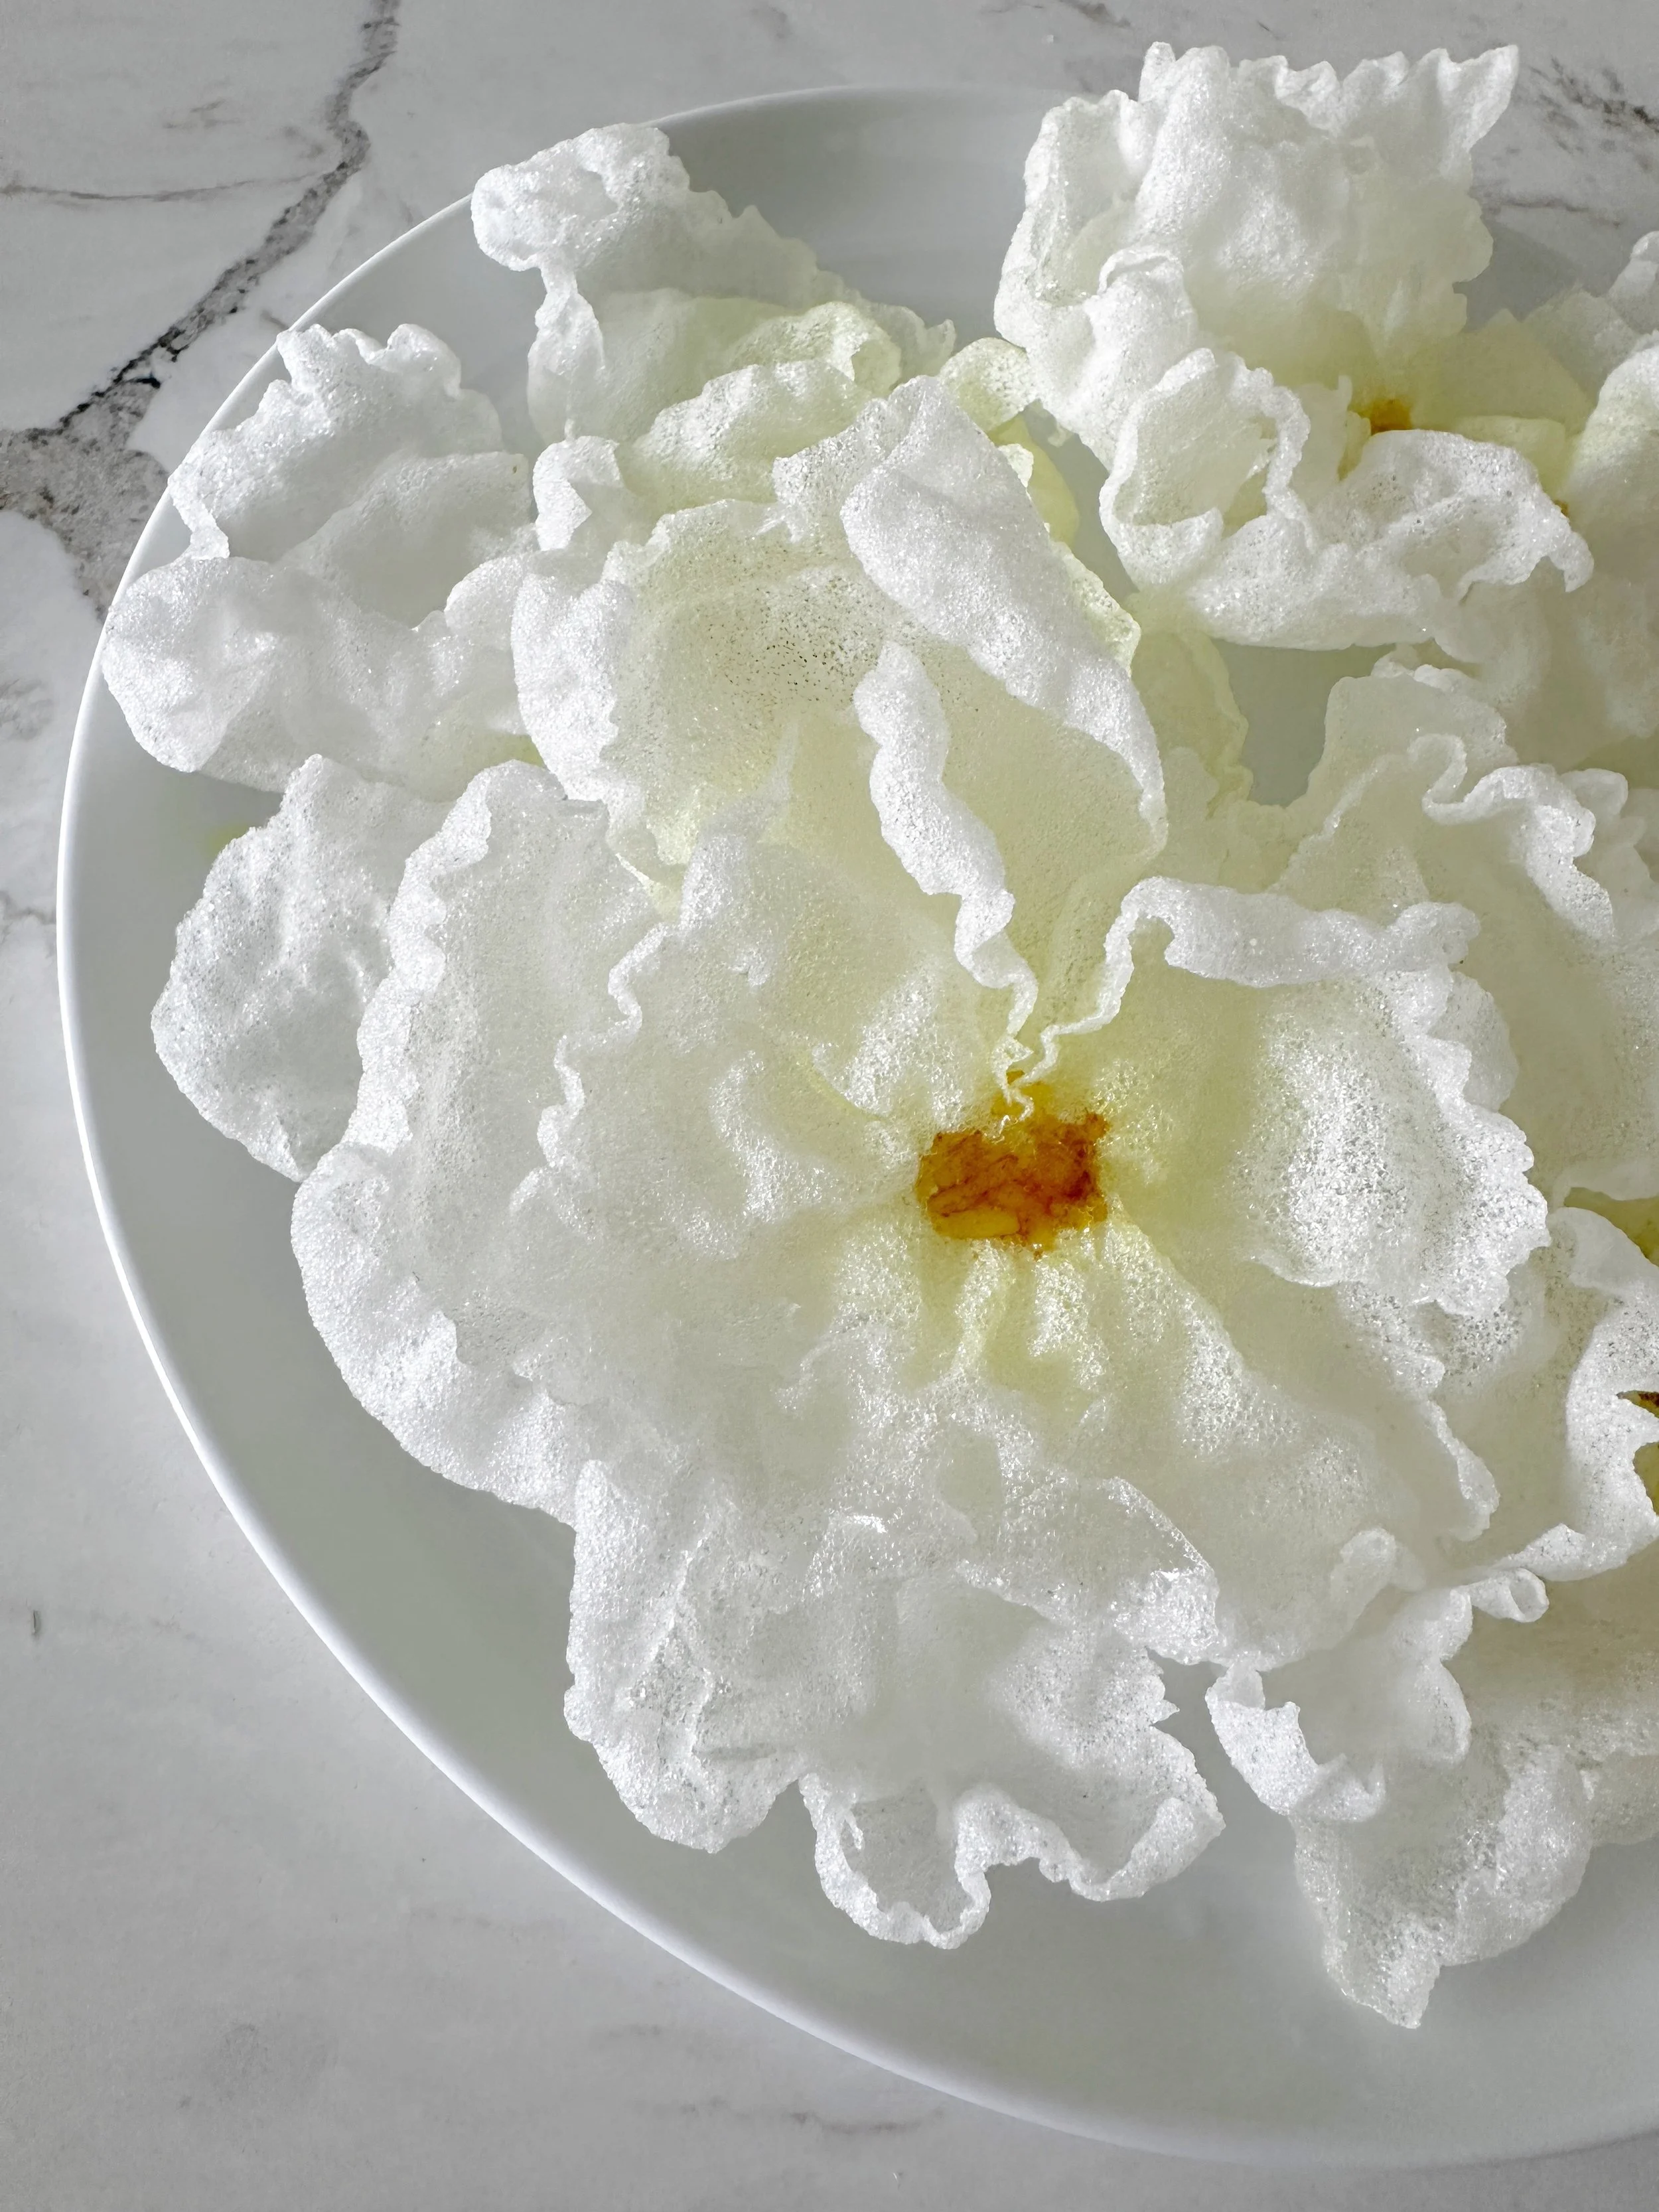
They’re light, delicate, surprisingly easy to make, and instantly turn a simple cake or dessert into something beautiful. I first saw them in this Instagram reel by Shreya Joshi, and knew I had to try them myself.

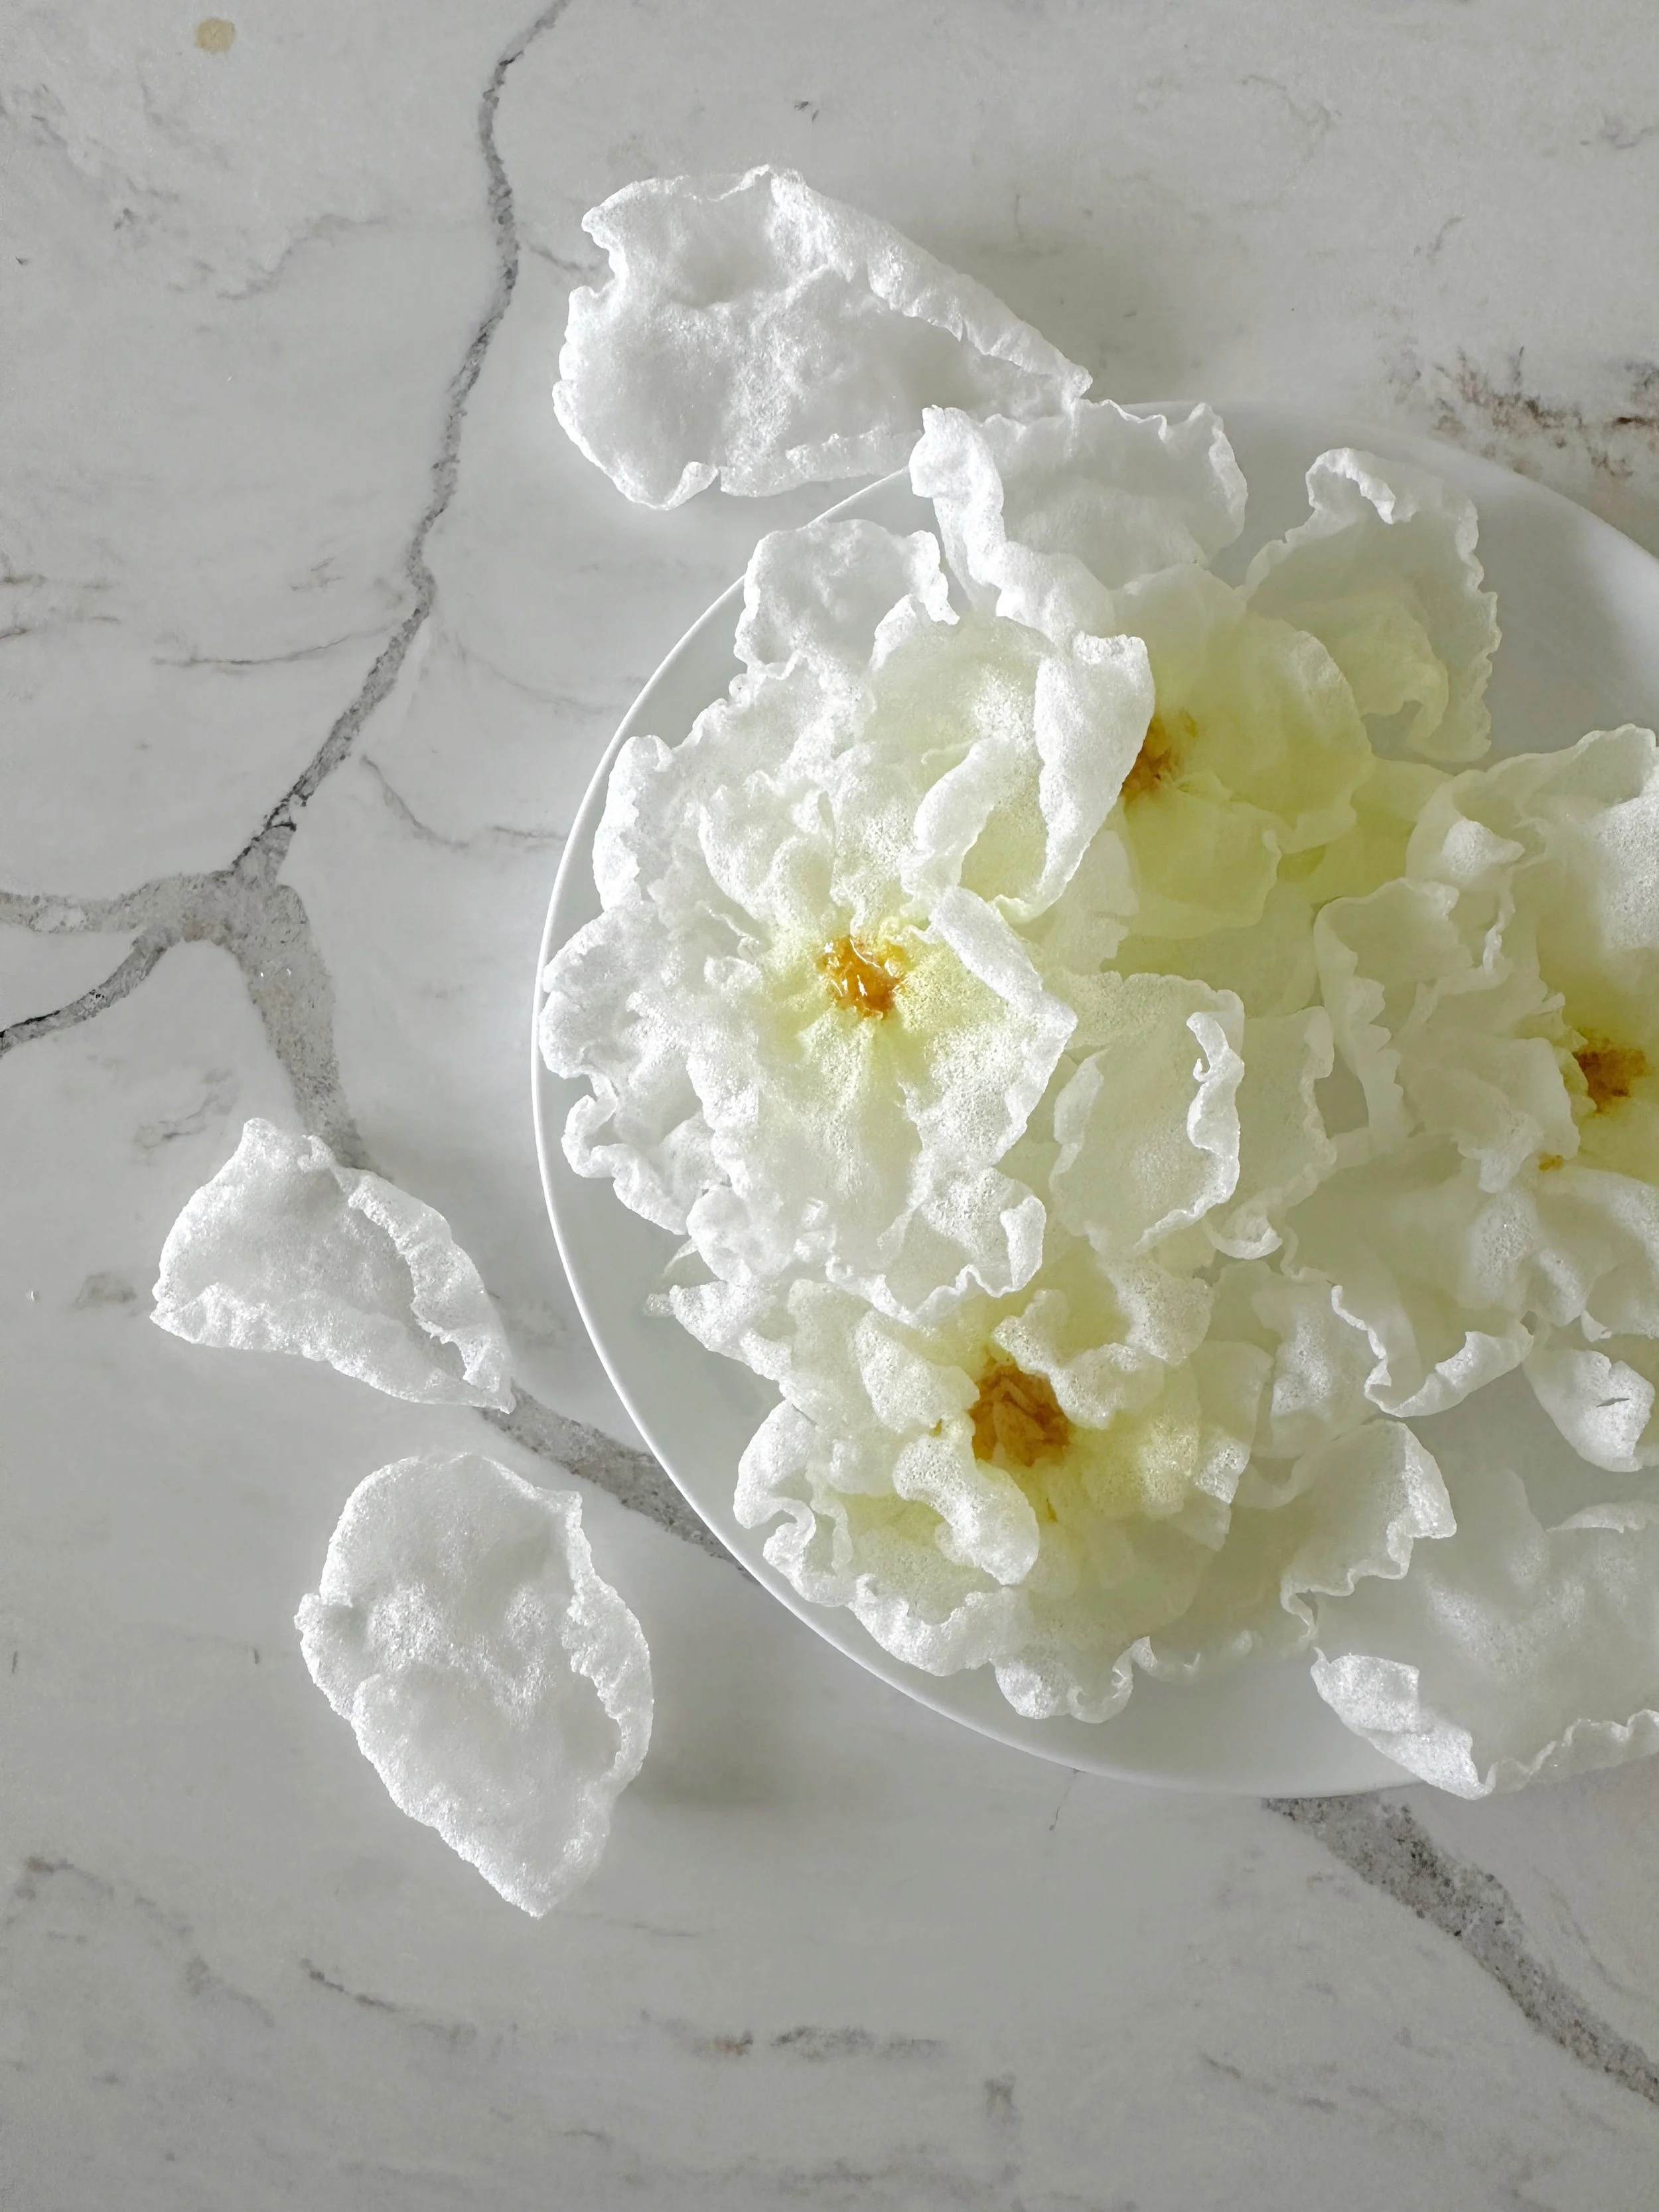
What I love most is that they don’t require perfection. Every flower opens a little differently, which gives them a soft, natural look that feels charming instead of overly polished.

And today I’m sharing how to make them the good and the bad, what worked and what didn’t work.

What You’ll Need

  • Rice paper wrappers

  • Kitchen scissors

  • Hot oil for frying

  • Turmeric rice for the flower centers

How to Make Rice Paper Flowers

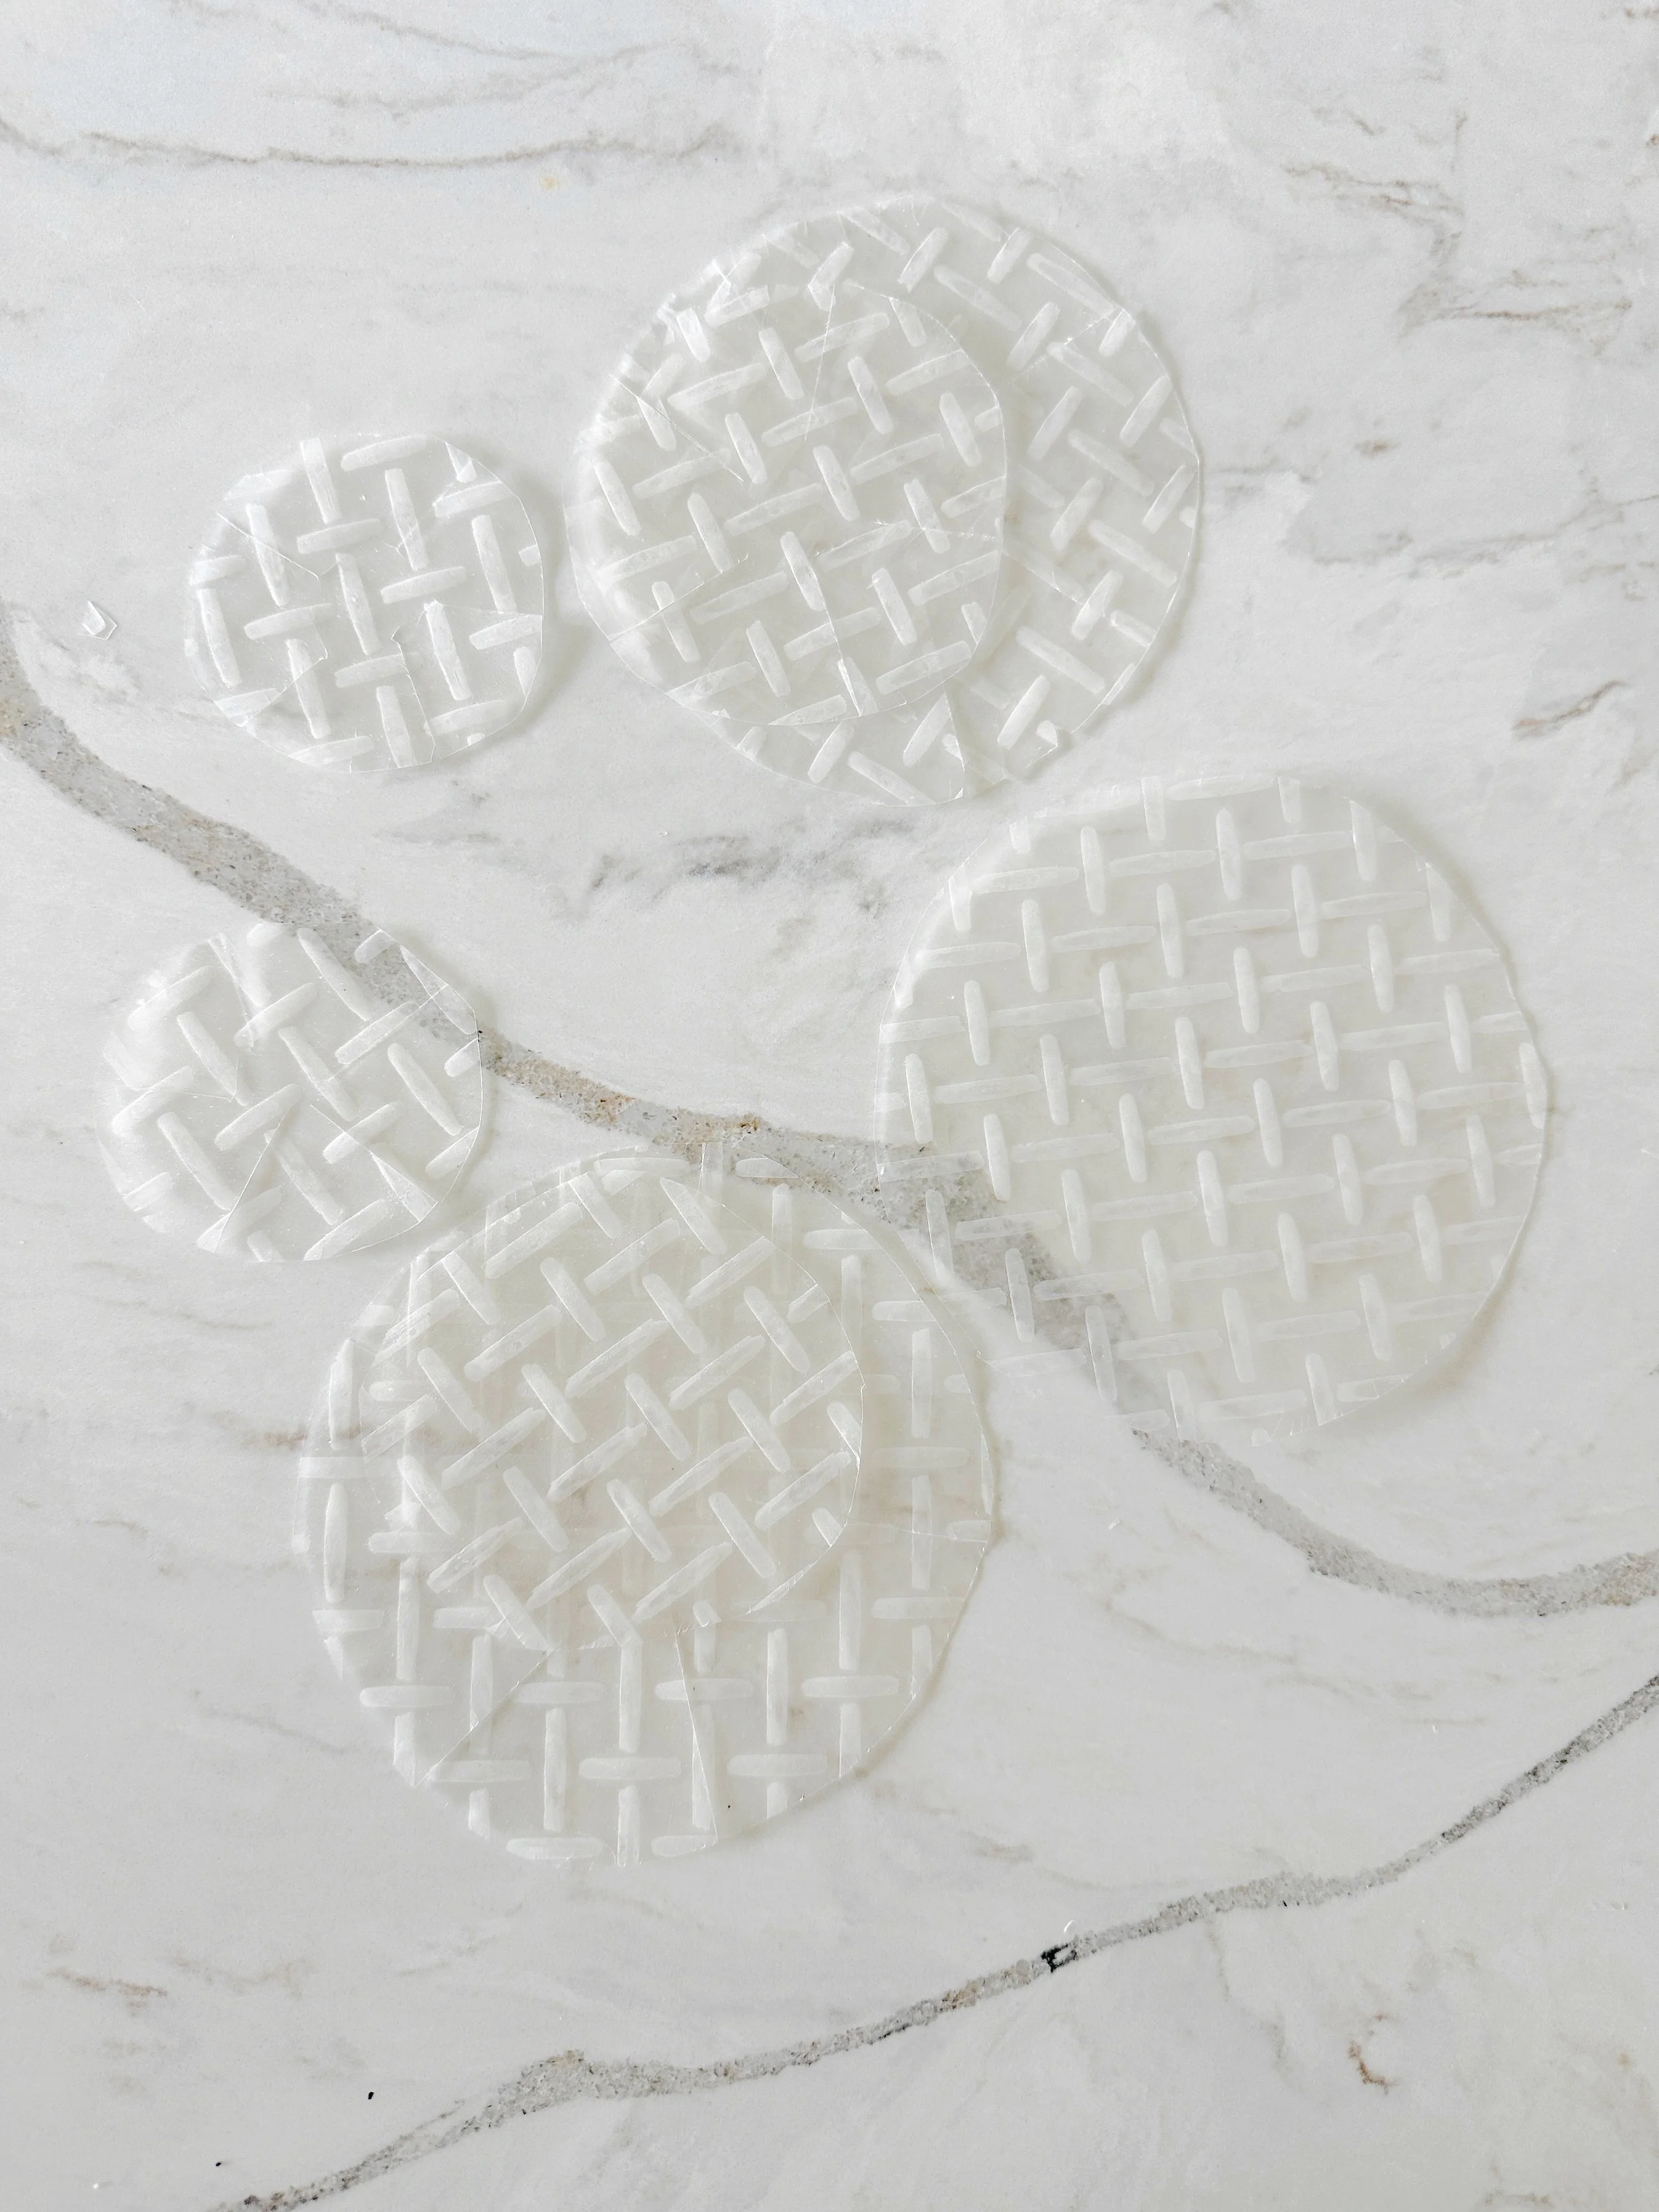
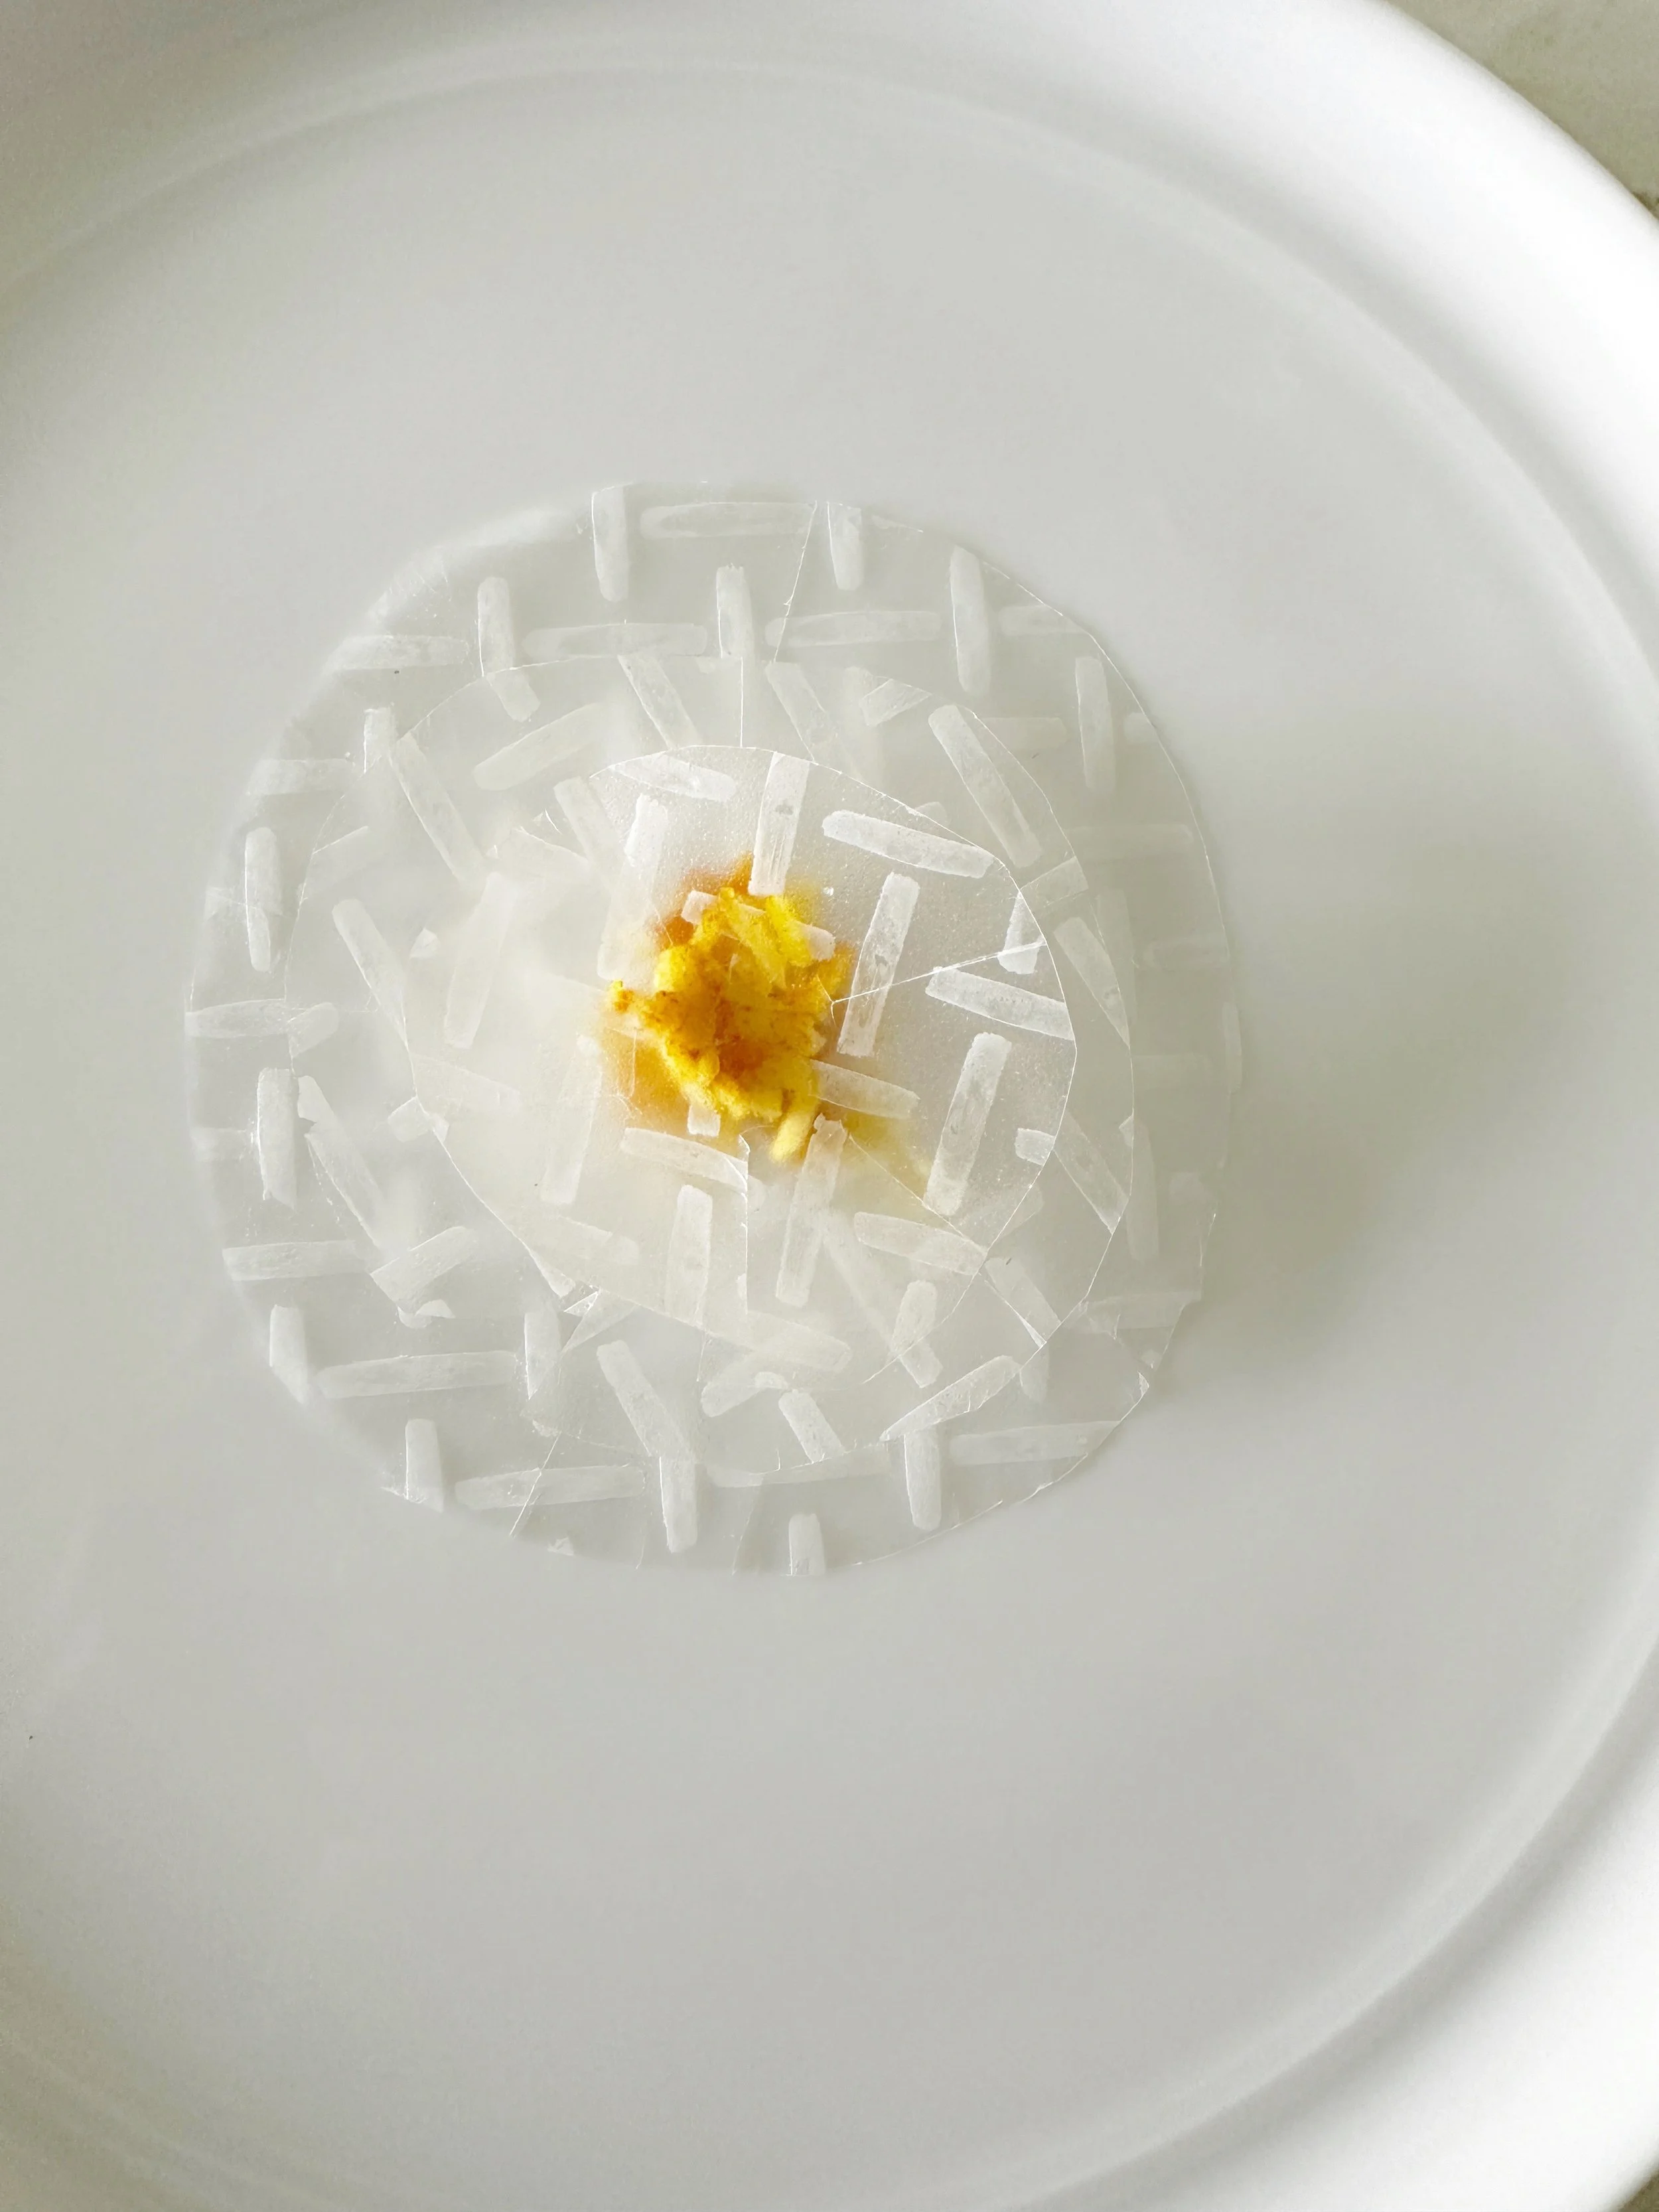
Start by cutting your rice paper into circles of various sizes. They don’t need to be exact. You will layer two or three pieces together for fuller flowers.

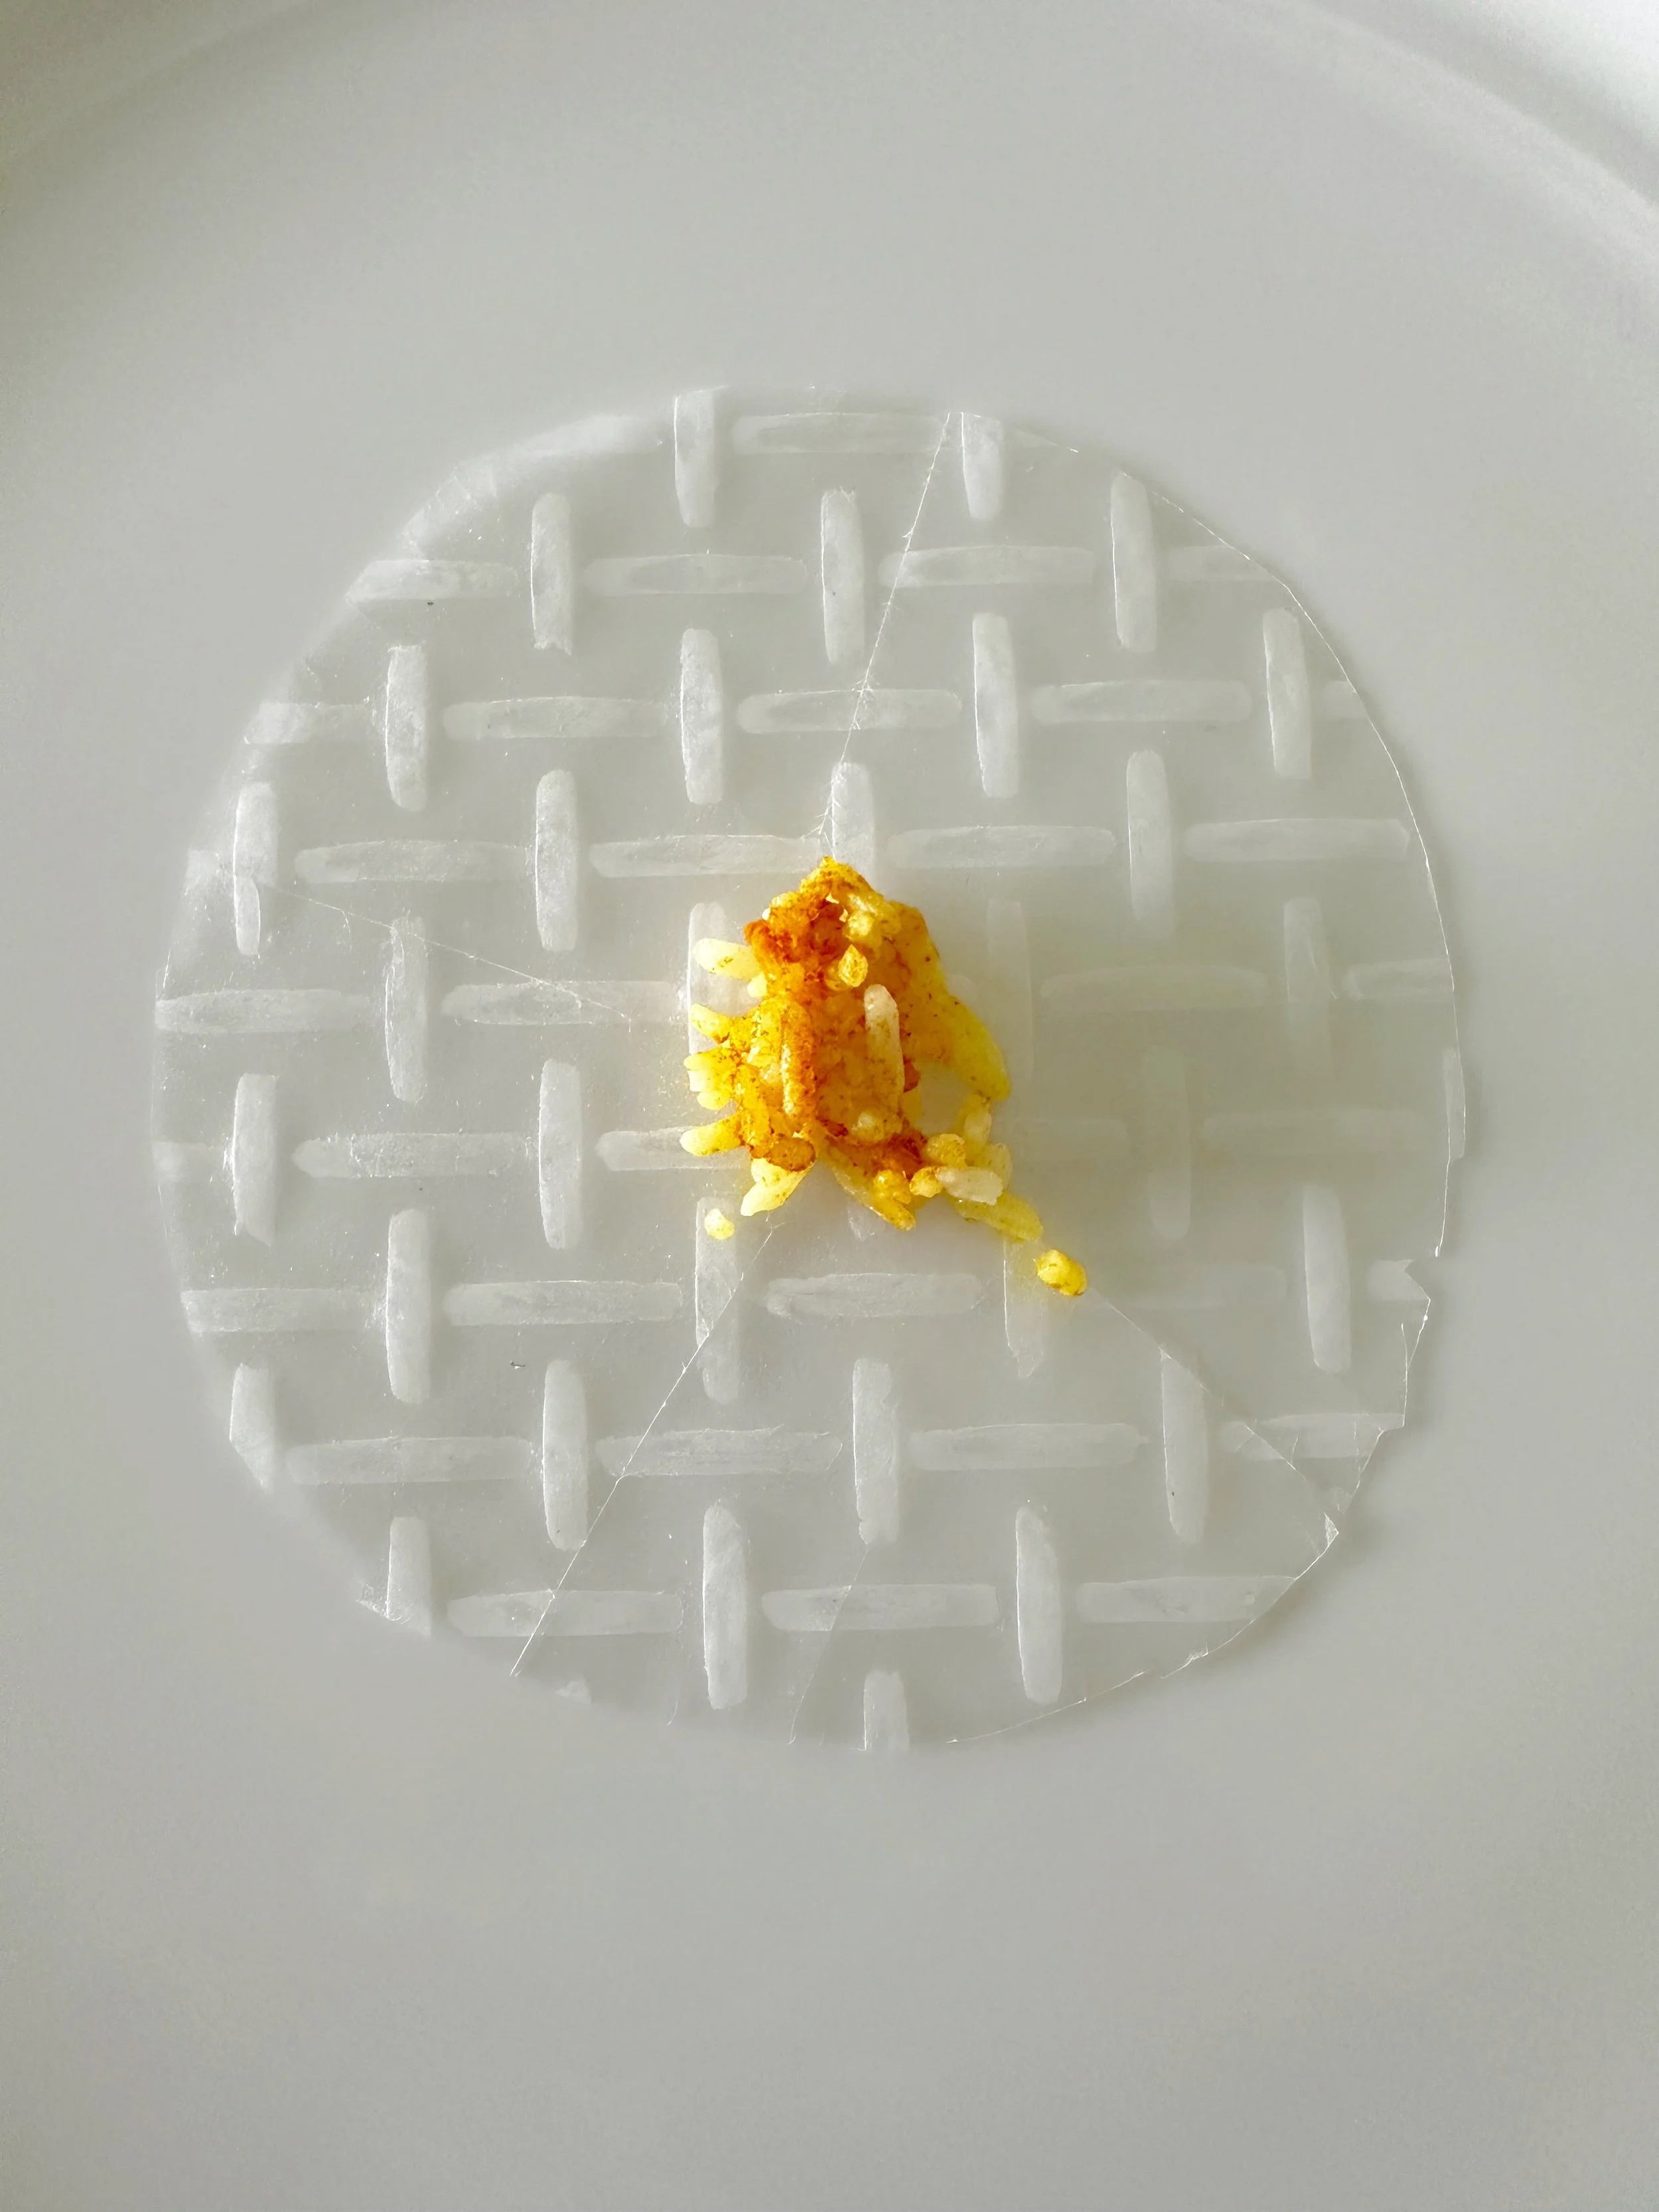
Press a little turmeric-colored rice into the center of the largest circle, then put a second smaller circle on this of it. That will help the circles stick together. That tiny detail makes them look surprisingly realistic.

Carefully place the flower into hot oil. Within seconds, the petals will puff and curl open. Once crisp, transfer to a paper towel-lined plate to cool.

A Few Simple Tips And Observations

  • Work with one flower at a time because once you start, frying them, it only takes seconds and you do not want them to get brown

  • Don’t worry about making them identical — the uneven petals are part of the beauty.

  • Smaller flowers tend to hold their shape best.

  • Use a small amount of turmeric rice. You need it only to help the layers stick. If you add too much rice, as you are draining, the turmeric color may bleed lightly.

    Note: A few of mine did, but I actually love the effect. I am actually thinking about experimenting with adding color somehow. Stay tuned!

  • Level of difficulty is not high once you get the hang of it.

  • Let them cool completely before placing them on cakes or desserts.

Ways to Use Them

These flowers are beautiful on cakes, cupcakes, pavlovas, brunch desserts, and think of mini ones over tea cakes... cute! Even one or two can make a dessert table feel thoughtful and relaxed.

Also, add some salt and you got yourself a light airy chip (or crisp, depending on where you are from)

And the best part? This is the kind of kitchen project I love most lately — simple, creative, and slow in the best way.

Not complicated. Not overly styled. Just a small, beautiful thing to make with your hands on a quiet afternoon.